Very recently I have started to embrace the world of digital point scanning. The process of taking the imperfect world and placing it in the perfectly orthogonal world of a computer. It is a fantastic portal for the construction and manufacturing industry to digitise something that was built half a millennia ago and have it mm accurate ready to start using as a reference model in the like or Revit or Inventor.
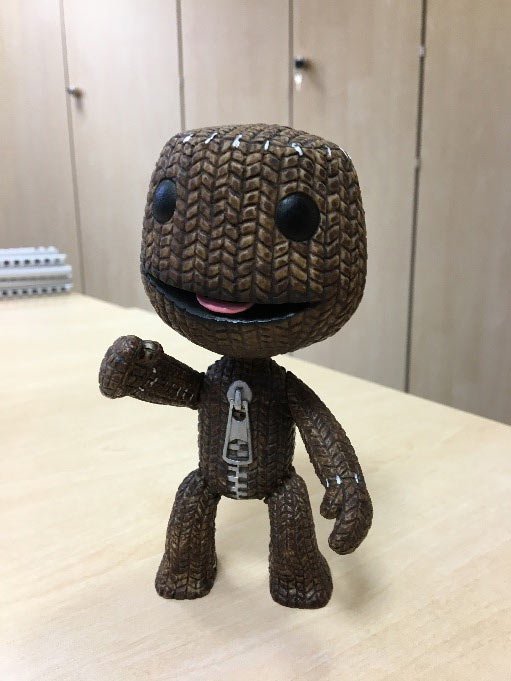
However they are expensive pieces of kit for the average user who might want to create a room layout or scan an object for their own small business or person interest. In comes photogrammetry. Using Recap photo, you can use a series of well taken photos to create a 3D digital representation of an object, the only restriction is what you can point your camera at. Its output relies entirely upon the photos you take. There are a number of rules to follow when taking the photos but once mastered, a very detailed and scaled 3D model can be produced. Below is an example of a caricature some people may recognise.
From this (43 photos used from an iPhone 6s totalling 70MB).

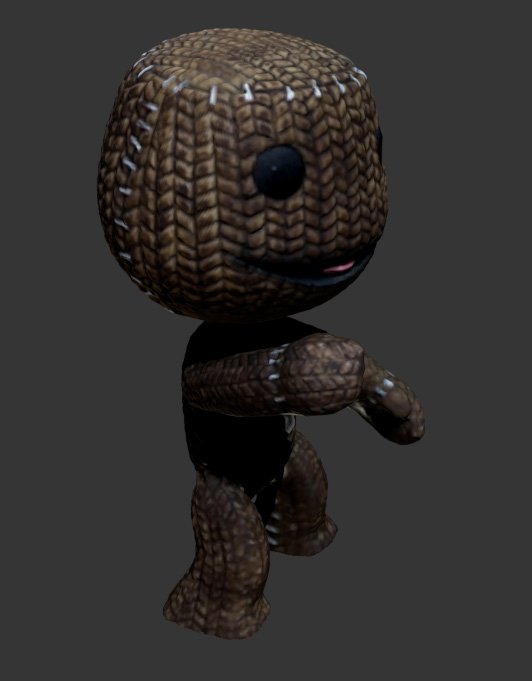
To this (3ds Max 3D object) some editing to remove the desk and other objects. The computation picks up the texture of the object down to bumps and groves.

Rather forgivingly I think the object is not scaled once computed into 3D, in the case of the caricature its actual size is 160mm tall and the output is 400mm, this is easily remedied by scaling either in Recap Photo itself or any program that can open a OBJ or RCP file. A recent development within the recap world is the new standalone recap photogrammetry application, rather fittingly called Autodesk recap Photo. This new application that comes free with recap pro increases the allowable photo input from 250 photos to 1000. It uses 30 cloud credits for each scan you input no matter how many photos you put in so it is worth using as many as possible. It is not a quick process and if the photos are not of a certain standard it will fail the process.
To make the most of the photos and for relatively first time success (this is based on my use of an iPhone 6s so far) follow these 3 easy rules:
- Take the photos in the same orientation as right angles as possible.
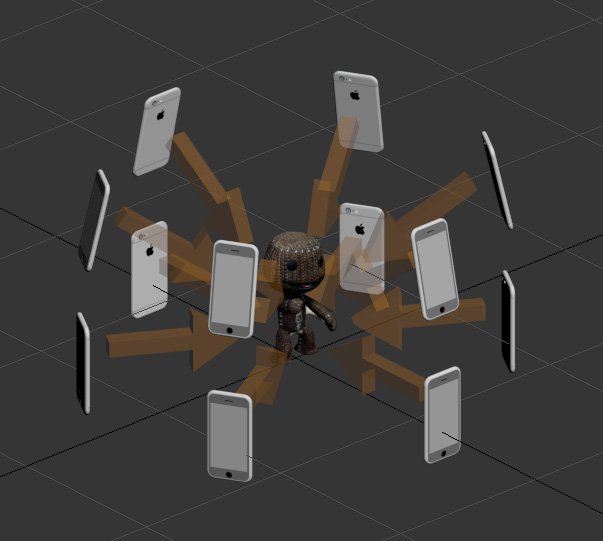
- If taking photos of an object, try to take photos in a circle at the same distance at different levels with lots of overlap in what you’re aiming at in each photo. If you are scanning a room move around the edges of the room taking pictures of the opposite side with similar tactics (same levels, lots of overlap). I have taken the images both with and without a tripod, both with success.
- Shiny or smooth surfaces will not work, if you are scanning an object I have read that people have used caulk spray to create a matte finish that can be washed off later. But the upshot is that light reflections will be different at different angles and this messes with the stitching of the images.

Other more obvious things to consider are light levels and shadows, while laser scanning will work in the dark photogrammetry will not. The reduction of shadows is also advisable, natural light works, as well as a good diffusion of flashed on any camera. The quality of the picture is important, any blurred photos will be discarded in the computation of the final 3D model.
To conclude, Photogrammetry is a fantastic alternative to expensive laser scans for those that need models as a reference. It is being used currently in lots of applications including scanning, room scans, product imaging, crime investigation and many more. A company I have come across are aiming to have the entirety of Central London scanned within the next two years using photogrammetry. It is evolving every day with increased accuracy and speed will make it more and more accessible and viable for many new applications.
For more information on this blog post, please complete the below form: