Using Sketchup natively, you only have the ability to add basic materials with a texture map. This is fantastic for getting a good idea of look and feel, but quite limited when it comes to high end renders that need to show textures with a roughness.
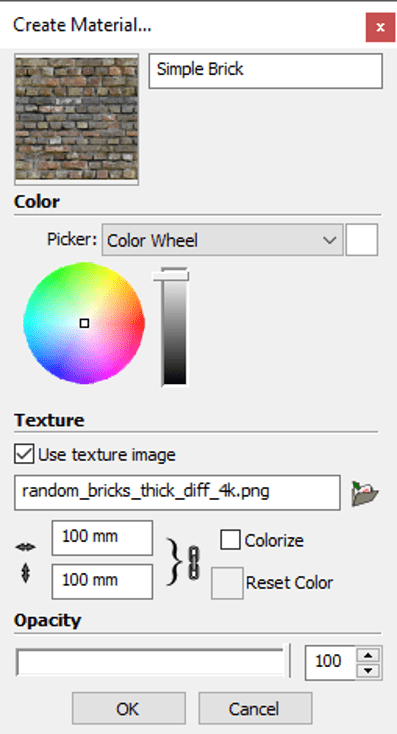
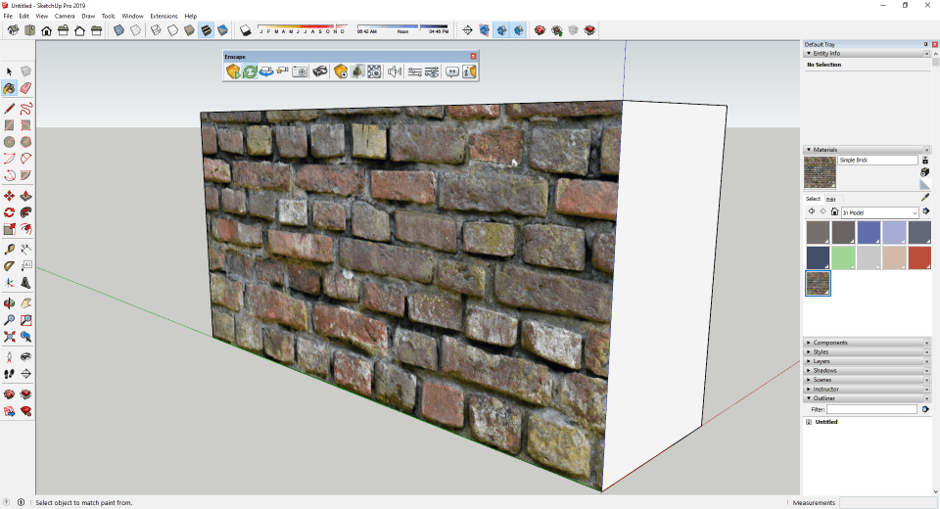
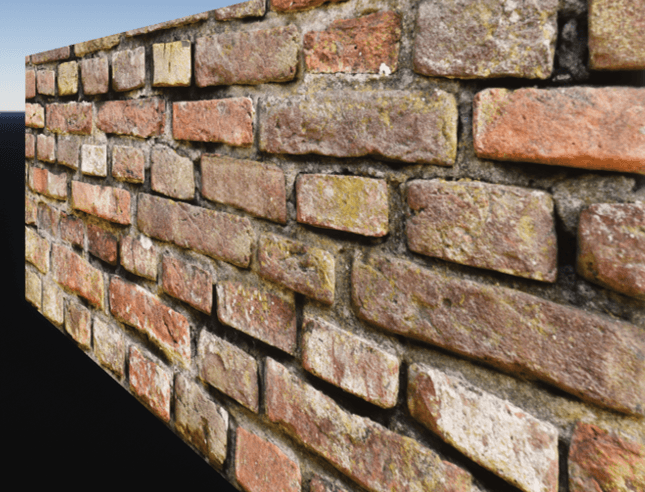
As you can see from these images, a standard Sketchup material (albeit, using a custom 4K resolution brick texture in this example) looks good, but doesn’t necessarily convey the roughness of the finish face in the visuals. The face looks like a smooth finish, which just isn’t true to real life.
Using the Enscape toolbar, we can modify this material with more customisation options through the Enscape Materials button: 
By default, this will open with your current material preselected. You can however see that all of the other default Sketchup materials are listed for you to search through if necessary.
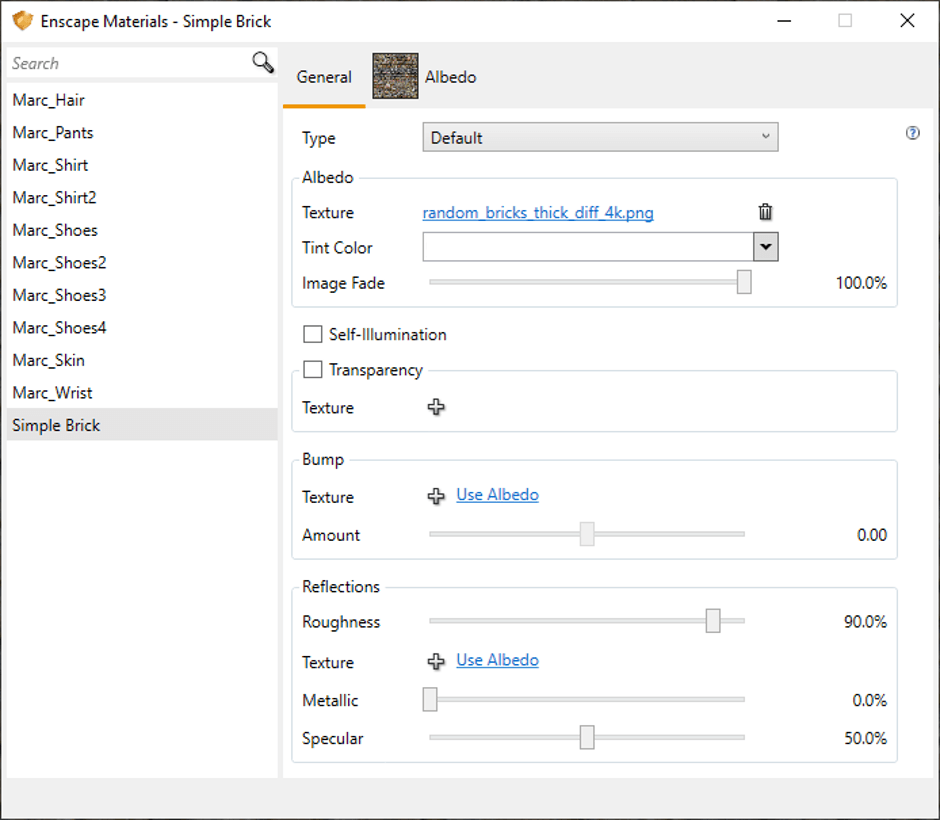
Now quite simply on this screen, we can change as much or as little as possible. For this example we are purely going to focus on adding roughness to the texture. Select to add a bump map and choose a relevant bump map, normal, or other relevant roughness texture.
“Normal maps are a type of Bump Map. They are a special kind of texture that allow you to add surface detail such as bumps, grooves, and scratches to a model which catch the light as if they are represented by real geometry.”
Once you have selected a bump texture you are able to choose a simple slider position for the amount of roughness required.
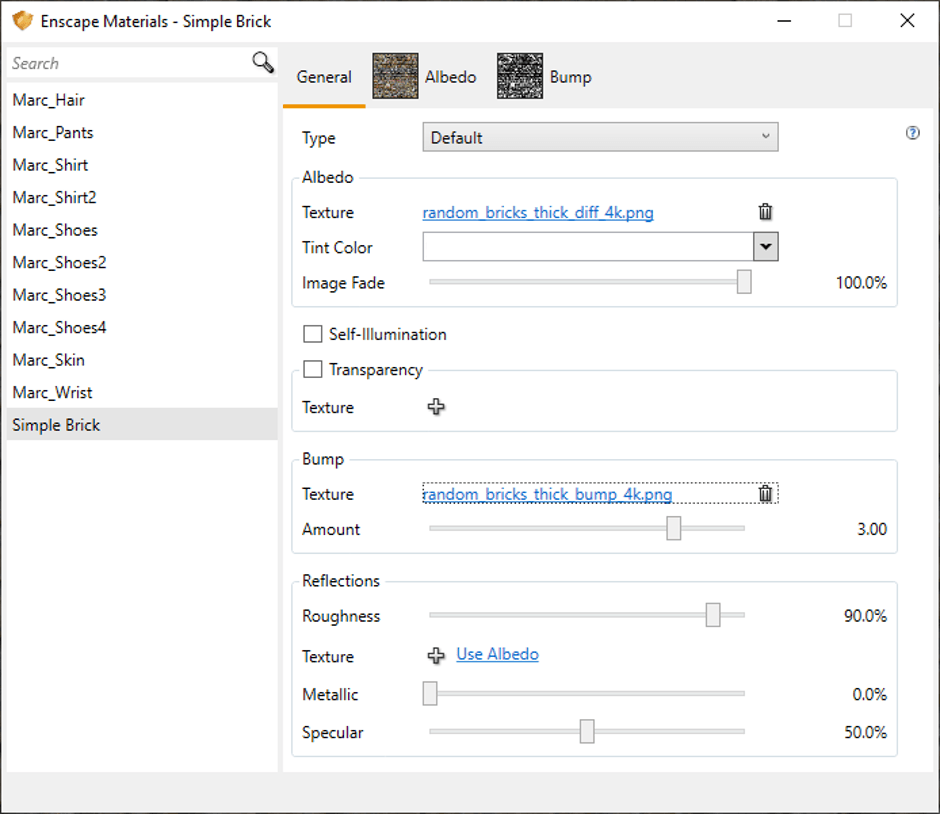
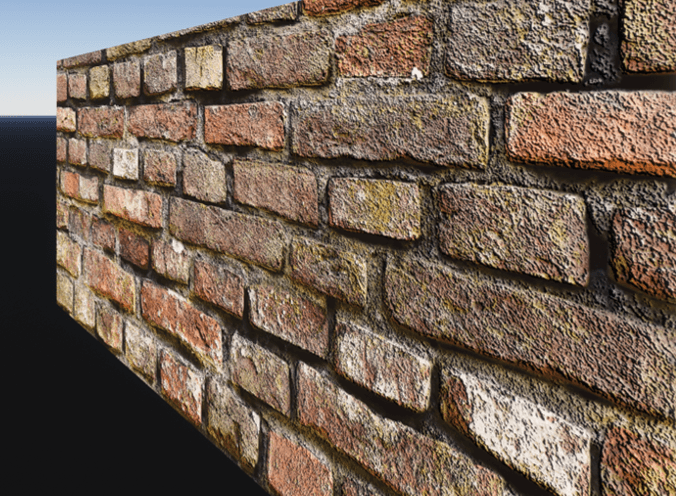
Close the dialog box and launch Enscape to see your results. The images speak for themselves.
With a bump map added:
Without a bump map added:
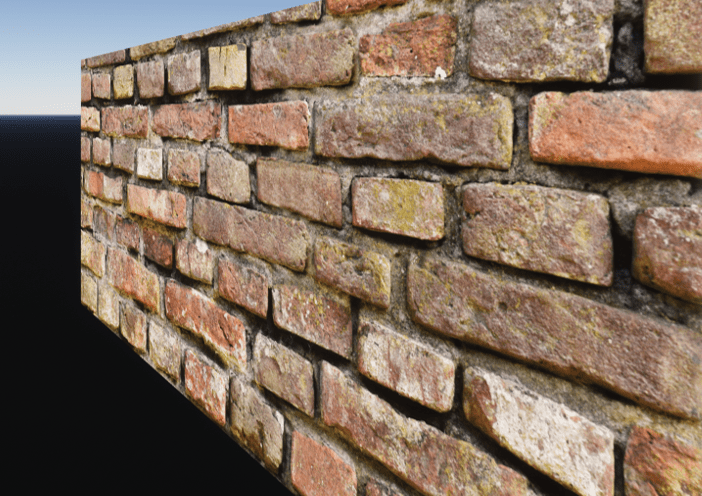
Whilst the original result looks good, it doesn’t compare to the visual quality of having the roughness appear on the texture. Using this functionality inside of Enscape will dramatically increase the quality of your visualisations.
Happy Rendering!
For more information on this blog post or if you have any other questions/requirements, please complete the below form:
Related Links