Here is how to create a new Title Block in Revit explained in 6 simple steps.
6 Steps on How to Create a Revit Title Block
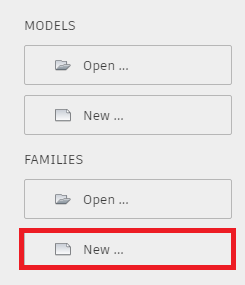
Step 1: Click “New” under Families on the Revit home screen.
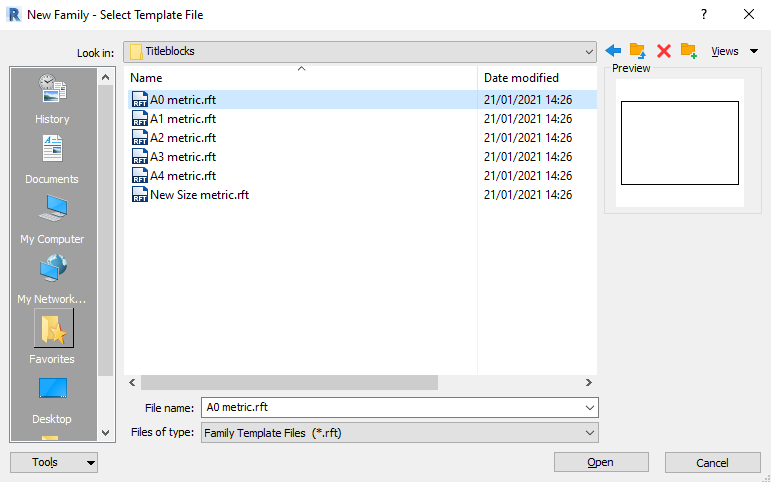
Step 2: From the list of Template files open the folder “Titleblocks” and choose a paper size (or “New Size” for a custom paper size).
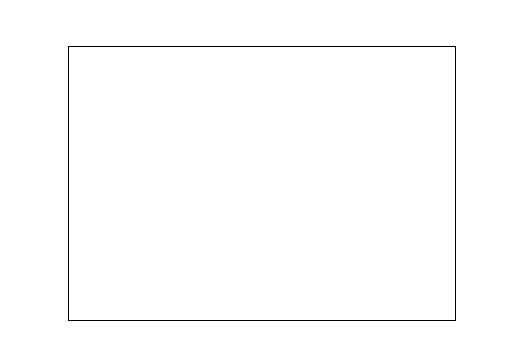
You will be provided with an area the size of the paper you choose:
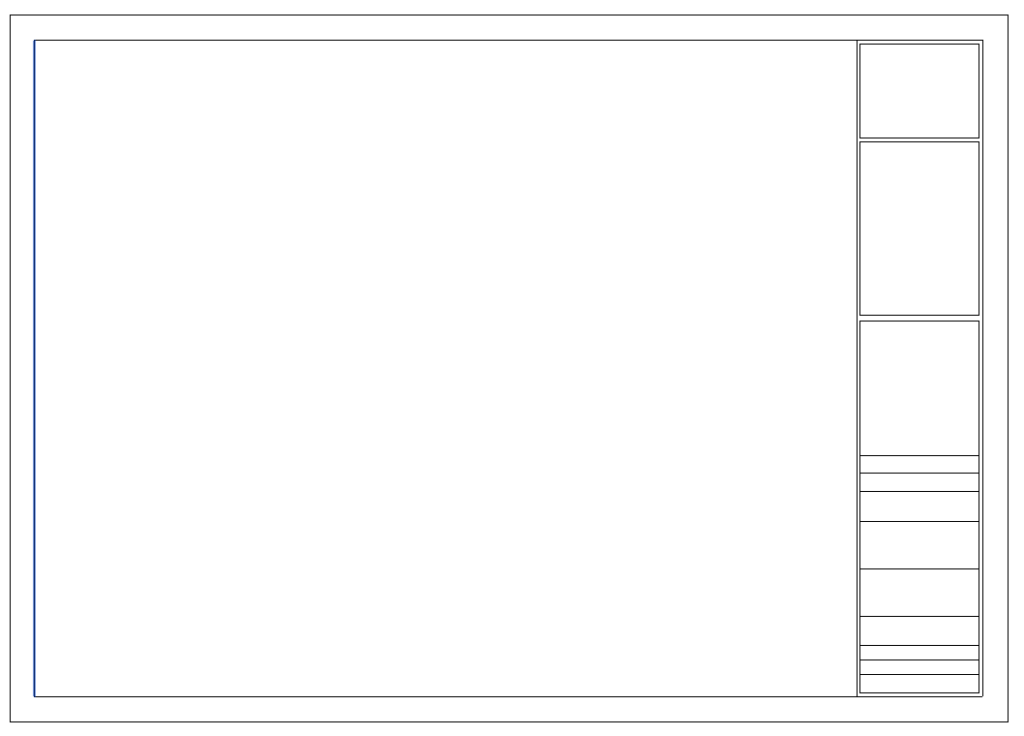
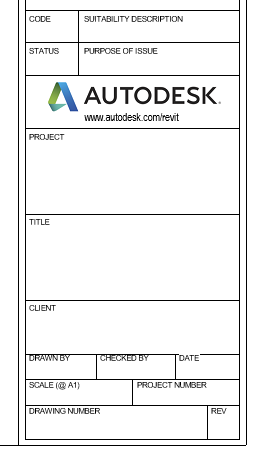
Step 3: Using the Line tool on the Create tab draw out your title block, you can modify the lines later once you have added text and labels if necessary.
Step 4: Add titles using the Text tool also found on the Create tab and add any logos using the Link Image tool on the Insert tab.
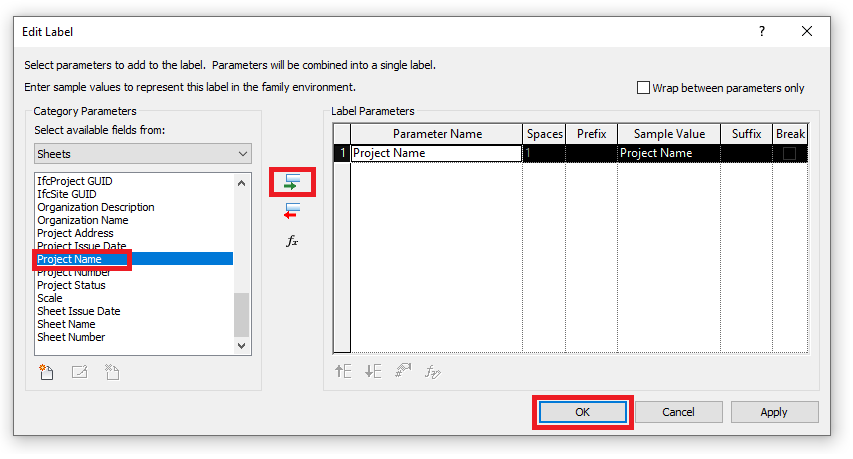
Step 5: You can make the sheet smart by using lables to display information from the project it is used in such as the Project Name.
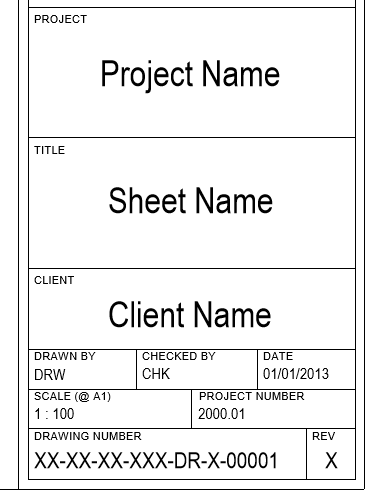
To add a label go to the Create tab and click the Label tool and left click where you want to place it. After left clicking the Edit Labile window will appear with a list of parameters which you can use. Highlight a parameter and click the add button (green arrow) to add it to the Label Parameters table on the right. You can add more than one if you wish.
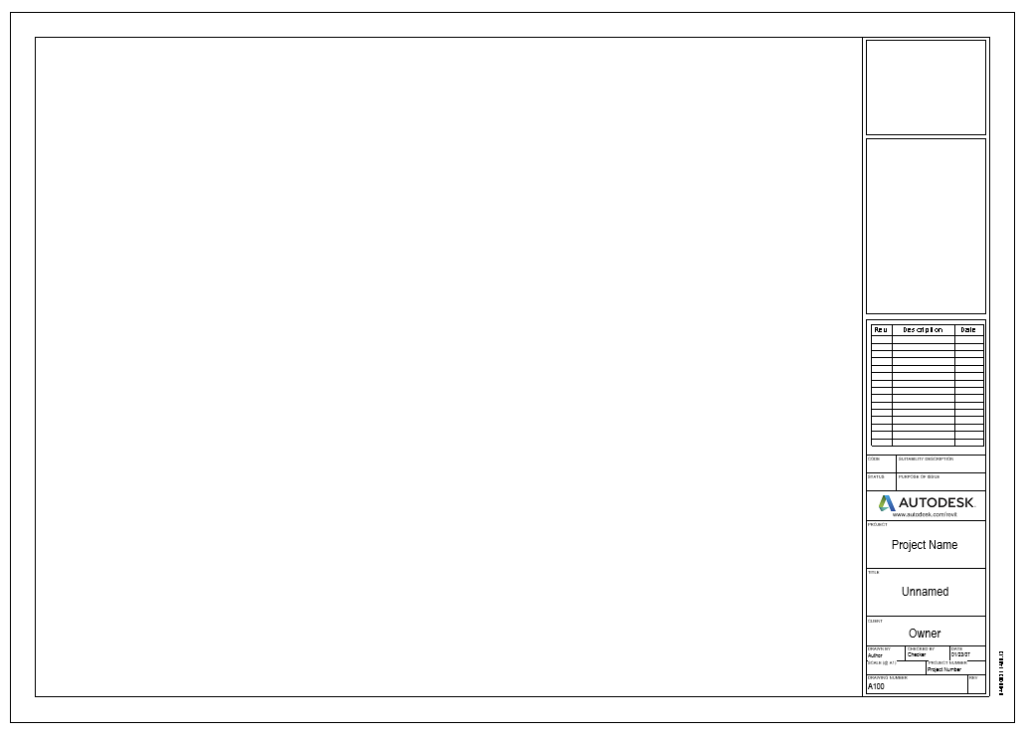
Step 6: Make any adjustments as necessary and save the Title block.
Congratulations, you have no created a new Title Block.
For more information on this blog post or if you have any other questions/requirements, please complete the below form: