The Autodesk Management Portal can be a confusing site, especially for new users. You can manage your team, assign/unassign licenses, check your license details and even create usage reports. To log in to the Management Portal, head to https://manage.autodesk.com/home.
All users accessing any Autodesk product will need their own Autodesk account. Head to https://accounts.autodesk.com/register to create users accounts. Once the information has been populated, the user will receive an invite from Autodesk to verify their account via a link
Users and Teams
Adding Users
Admins (Contract Managers) or Secondary Admins will have access to the User Management tab on the left side. Within here, we can control teams, users and assign licenses. To start, you’ll need to invite each user into your team.
Under User Management, please select By User.
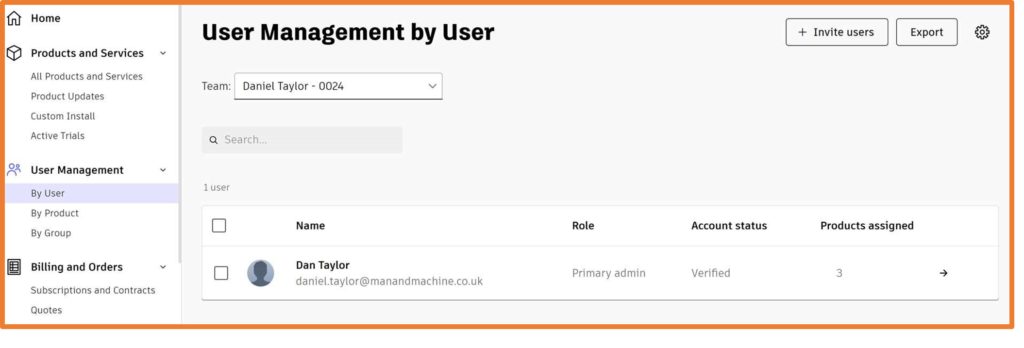
This will display your team, listing all users. You can manage multiple teams, with different licenses and users assigned within each, however most prefer everything to be under one. Larger companies can use this feature to organize their licenses effectively to separate teams with their own Admins to manage the users instead.
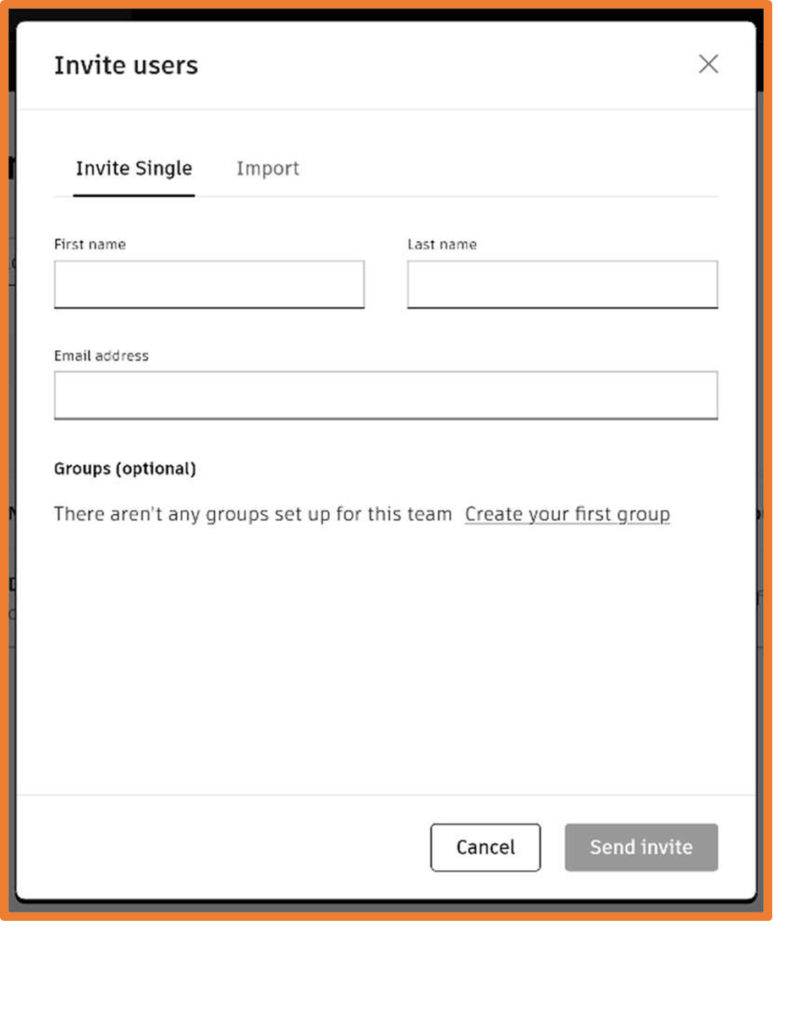
To add users, click Invite Users in the top right corner. Fill out the details of all users with the form to send an invite. If you’re managing users on a larger scale, you can use a spreadsheet containing their first and last name along with their email address under the import tab.
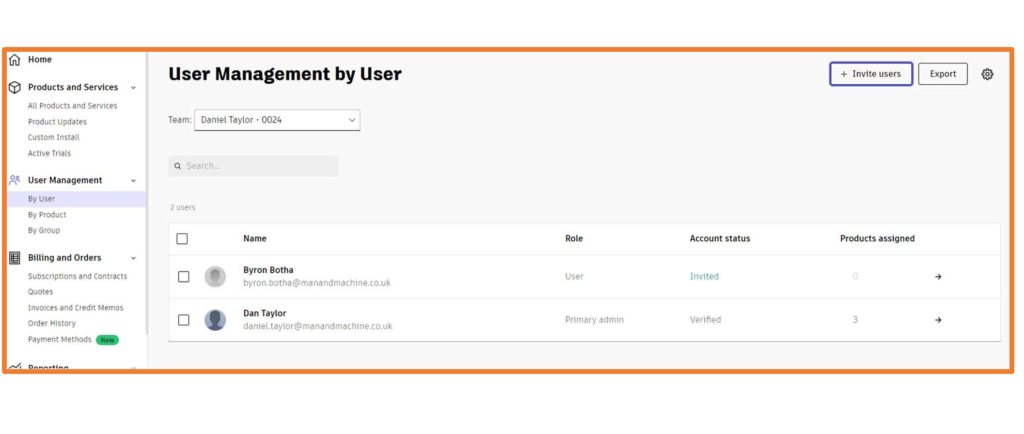
Once a user has been added, they will receive an email. You’ll also note their account status will show as Invited/Verified.
If you wish to remove any users from your team, click on their name within ‘By User’ and click on the bin icon next to their name. A new dialog box will appear asking for confirmation to remove this user.

Creating Secondary Admin
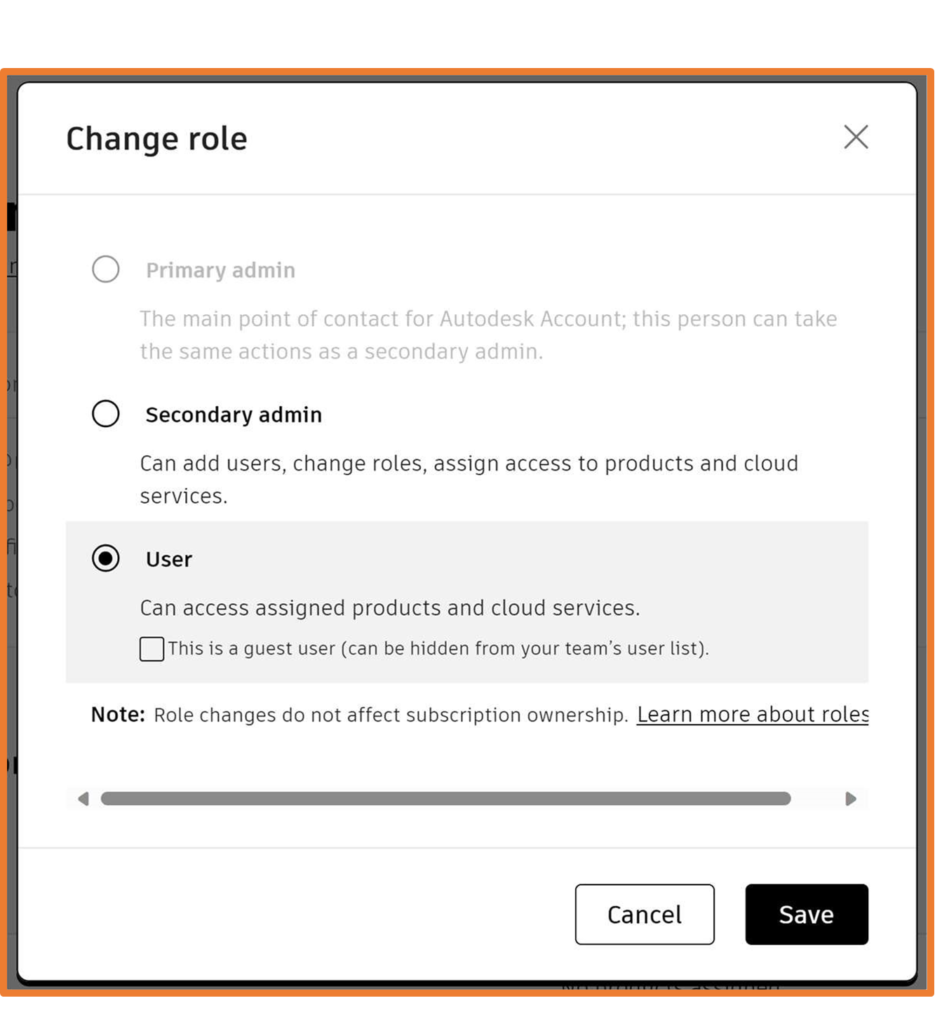
When working within a team, we always advise the Primary Admin assigns another user to Secondary Admin. Secondary admins have the same privileges as the Primary Admin, including assigning licenses. Therefore, during the times the Primary Admin is not available, the Secondary Admin can complete the request instead. Unlike the Primary Admin, you can have as many Secondary Admins as you wish. To change the role of a user, navigate to By User and select the user.
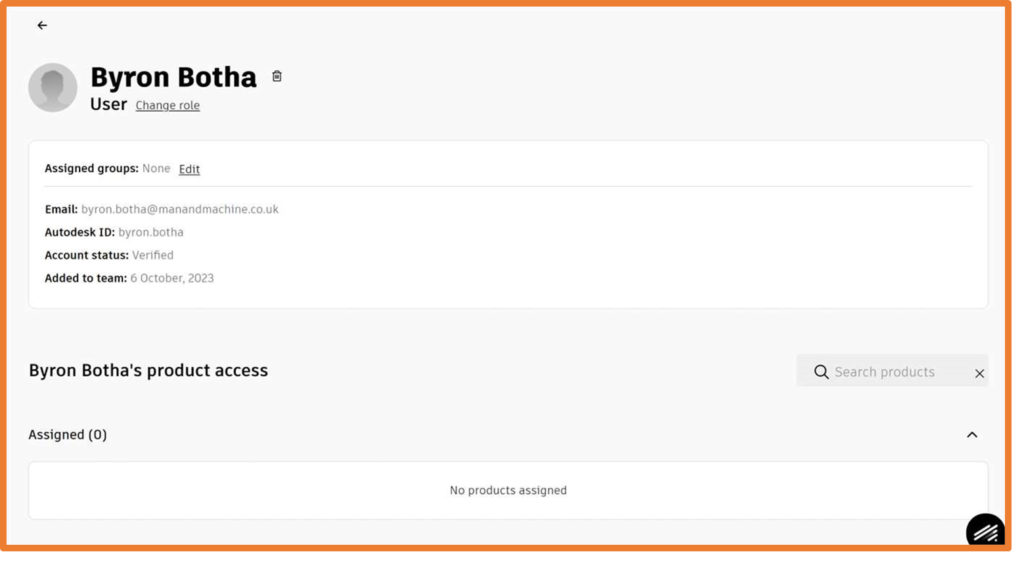
Select Change Role beneath their name, change to Secondary Admin and save. The same process can be repeated to change a Secondary Admin to a User.
Assigning Licenses
To begin with, licenses aren’t assigned directly to a user, instead you assign a seat of the license from a pool containing all licenses. Therefore, when you drop/add/renew licenses users won’t be affected unless you are over assigning the number of seats you’ve got.
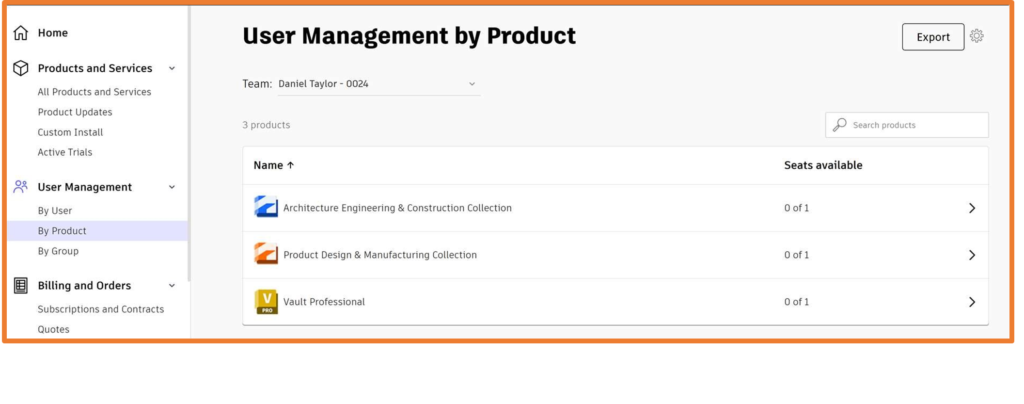
There are two methods to assign licenses to users, via By Product or By User. By Product allows us to view each type of license alongside the allocation of seats, whereas By User shows all assigned licenses for each user. Below you can see I’ve got AEC, PDMC and Vault Professional all with 1 total seat and 0 currently available. Selecting any license will show more details.
You can click the Unassign button next to a user to remove access and add a seat back to the pool.

Alternatively, if you have spare seats, you can Assign users this license. Type in their name and select add to list. Once all users are included, click assign.

If you find your license is either missing or showing in the wrong team, please contact us so we can transfer this to the correct team.
License Details
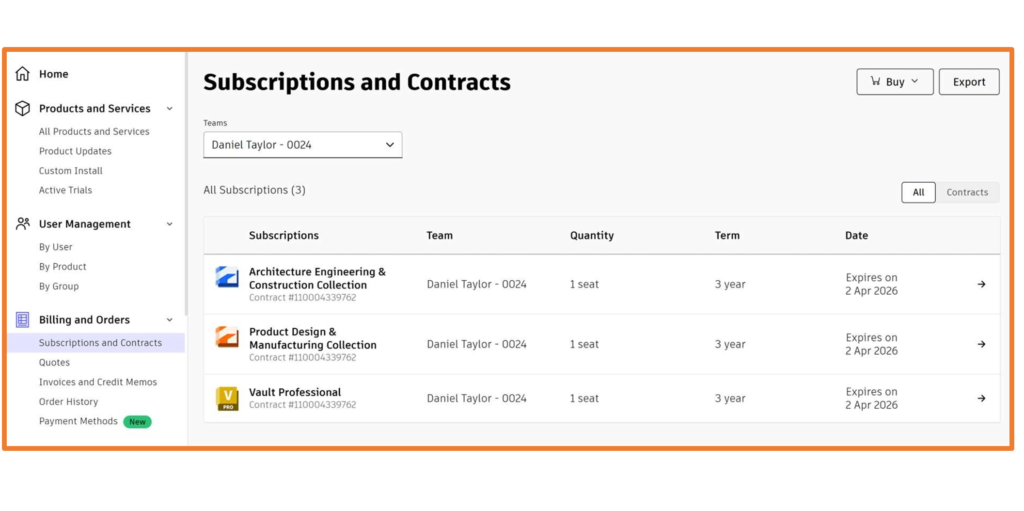
Under the Subscriptions and Contracts section within Billing and Orders, you will find information about all your licenses, including the team its under, quantity of seats, contract number and expiry date.
Accessing Products
Now all users have been assigned their products, they’ll be able to install/access these from their management portal. Users can have access to the current and 3 previous versions of products.
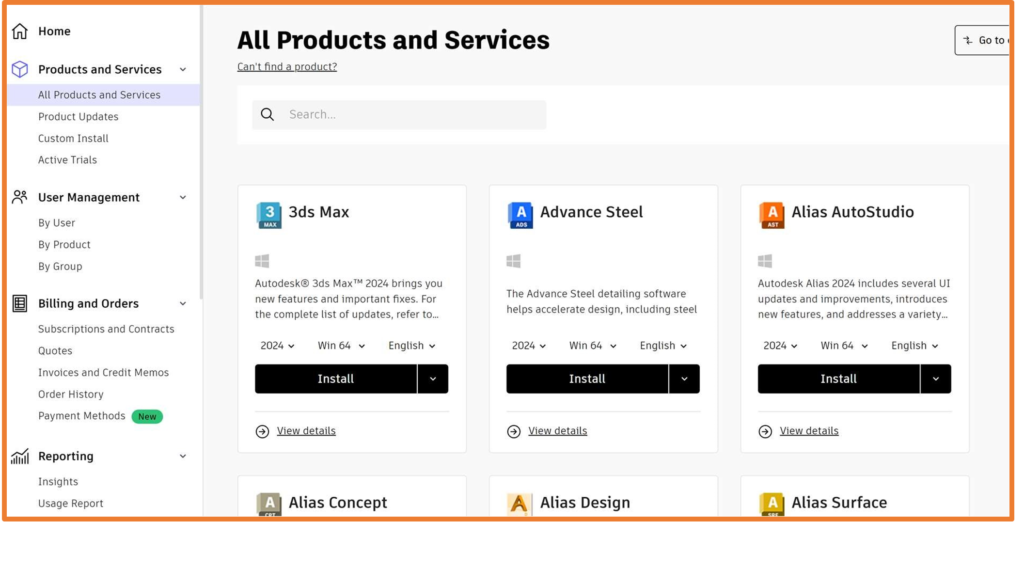
During installation of any products, you’ll also install Autodesk Access in the background. This is a desktop component and is used to update products and check licenses. Please login the first time you launch any products, otherwise you’ll experience a license checkout error.
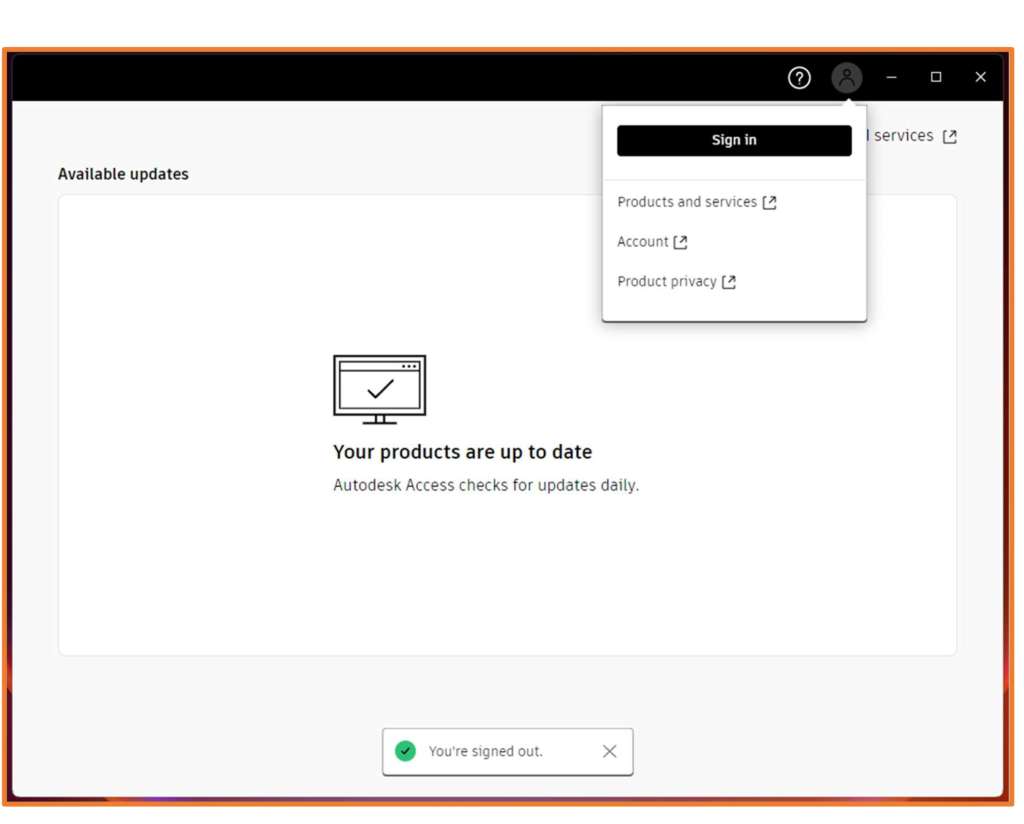
When signing in, you’ll be taken to your web browser prompting to sign in if not already. Now that you’re signed in, it’ll pick up any Autodesk updates for the products installed, removing the need to find and download these from the management portal.
For more information on this blog post or if you have any other questions/requirements, please complete the below form: