You may be looking at the object that has generated and want a bit more room around it for other items, or you just want to keep an area free of material. We can use the Obstacle Geometry to ensure there are places left clear.
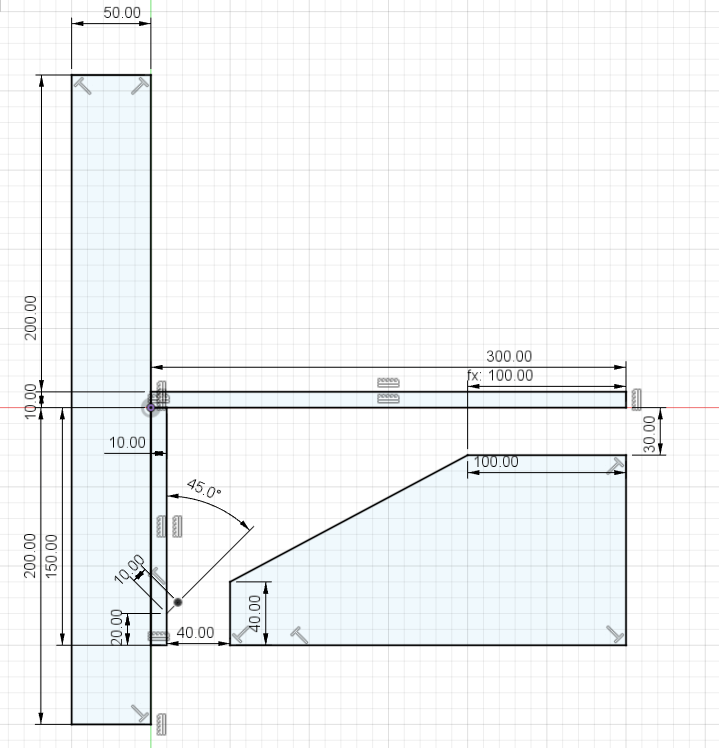
We can do this by going back to the Design workspace and creating the geometry based on the existing sketches, you can create a new sketch and project from the original, but I will be using the original one to ensure everything is on the same sketch.

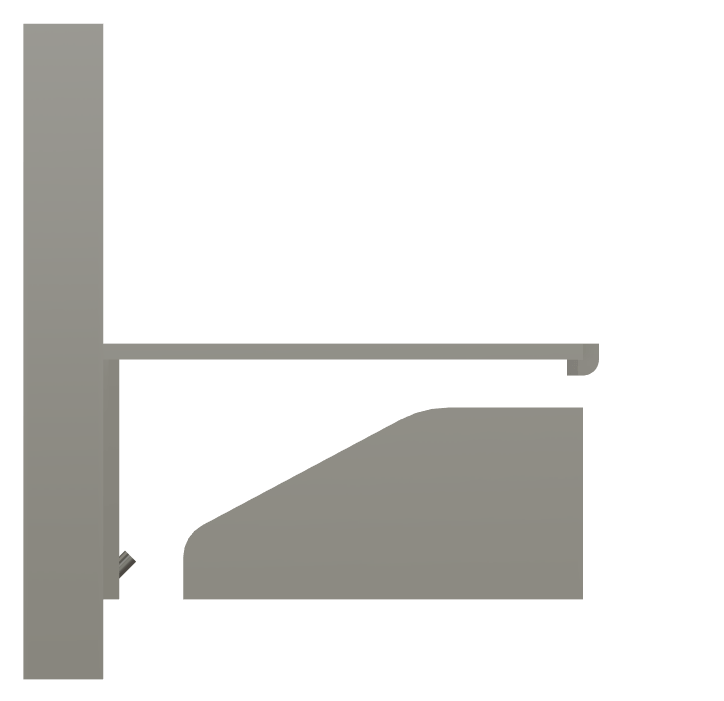
You can then extrude the shape to fill out the entire area you want to remain void. When creating obstacle geometry, it is best to ensure there are no sharp edges as the software will usually generate the object right against the Obstacle Geometry.

Once you are happy with the shape of the area you want the study to avoid, you can add it to the obstacle geometry in the Generative Design, Design Space options.
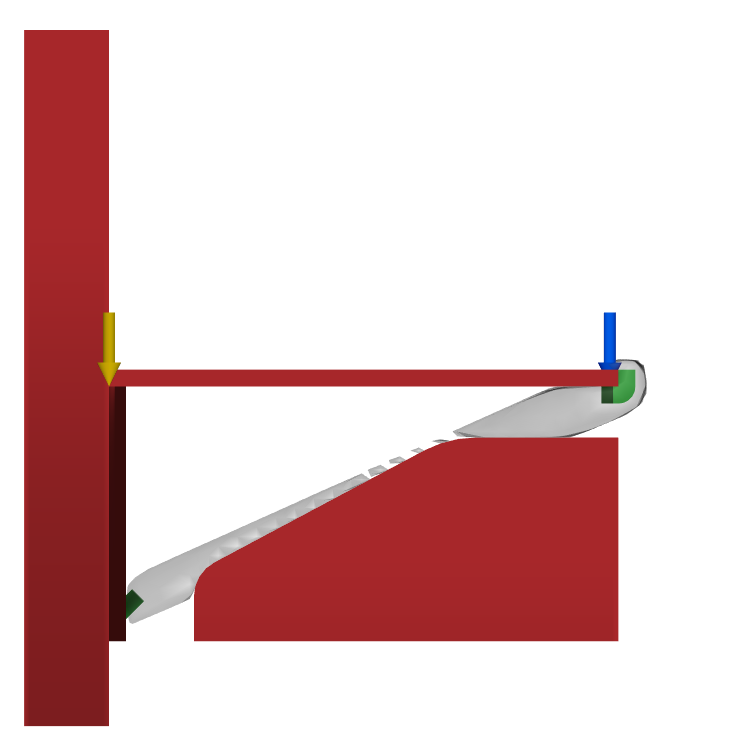
We can then preview the shape, as you can see from this preview it does not look like it will generate anything at all, but don’t worry as long as you have enough room for the object to generate around the obstacle it will find a way to connect the points together.

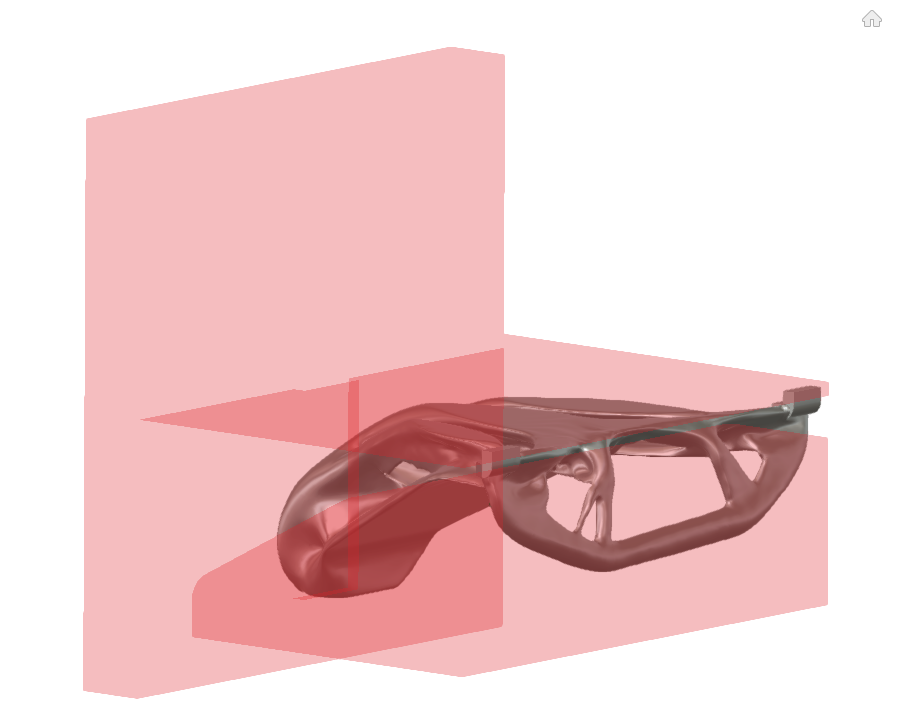
Once we are happy with the shape of the obstacle geometry, we can generate the study and compare the results. You can see how adding the obstacle it has changed the shape of the design, and mostly creates a more organic looking object.

For more information on this blog post or if you have any other questions/requirements, please complete the below form:
Related Links
Fusion Training – Autodesk Authorised Trainers | Man and Machine