For many months we have been waiting to hear when BIM Track will get better integration with Solibri Model Checker. As of last week, that wait is finally over as BIM Track have released their native Solibri Model Checker plugin to enable a better collaboration workflow and easier management of issues throughout your collaborative processes.
With this new Solibri Connector, you are able to automatically synchronize BIM Track Issues with Solibri and vice versa.
The process of gaining access to the relevant Solibri Model Checker Integration is identical to that of any other Solibri Model Checker Extension. Log into your Solibri Solution Center with your organisations Administration account, before heading over to the store view and adding the relevant extension into your shopping cart. Namely, the BCF Connector.
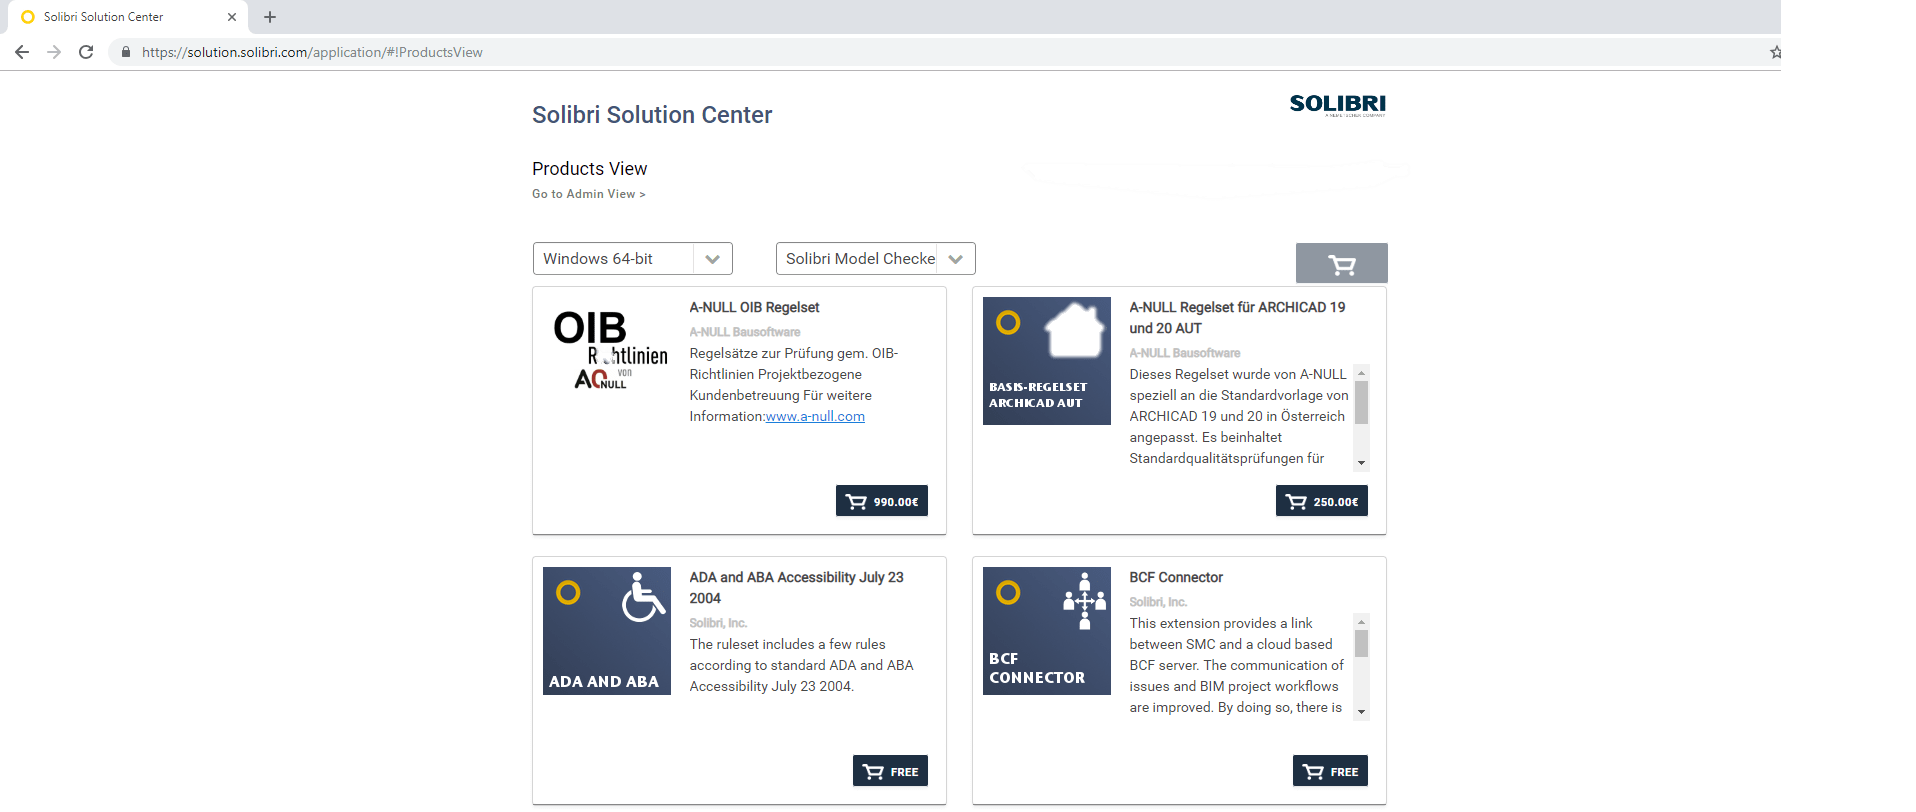
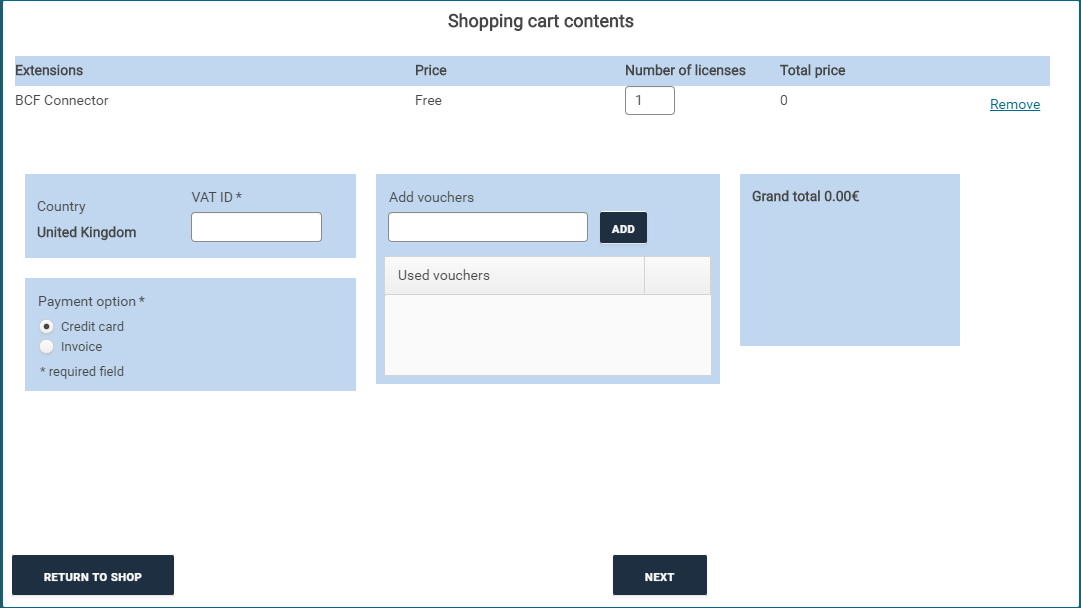
Once you have the item in your cart, complete the checkout process. Remember that the extension is free of charge, and this process is simply to obtain a license inside of your account.
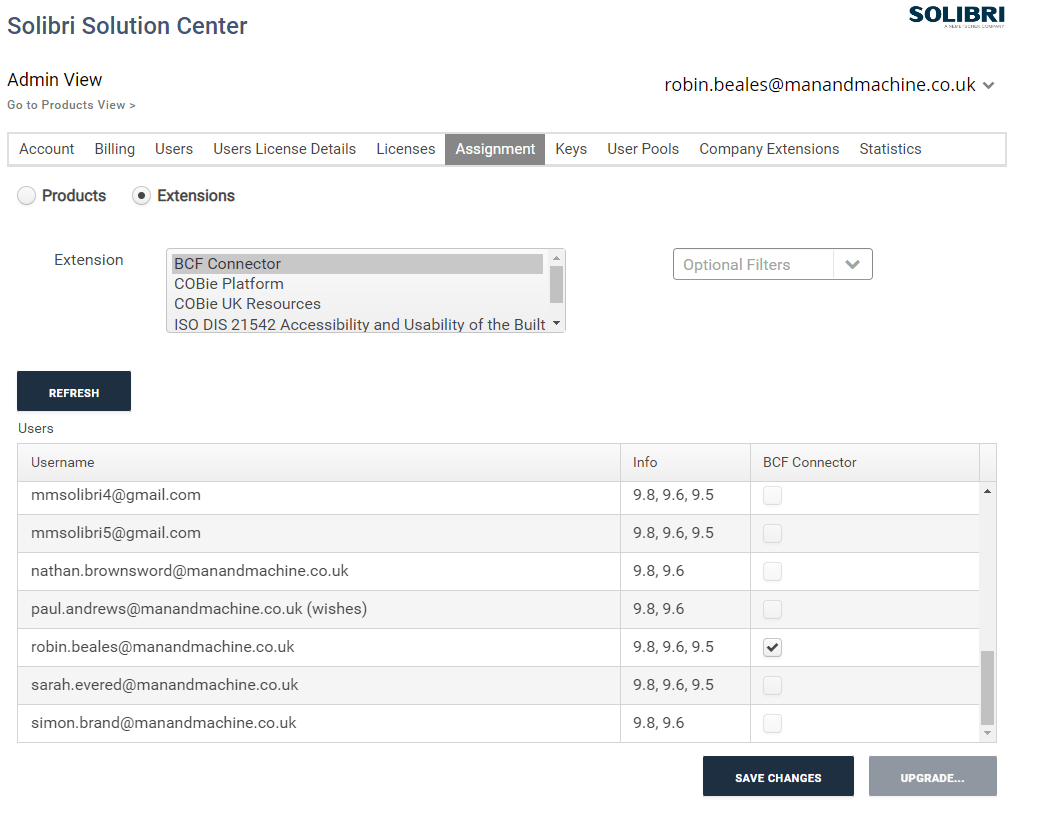
Once the checkout process is complete, head over into the admin view on your solution center before looking in the Assignment tab. Choose Extensions and the BCF Connector from the dropdown list before refreshing the screen. Tick to assign the Extension to the relevant users in your organisation.
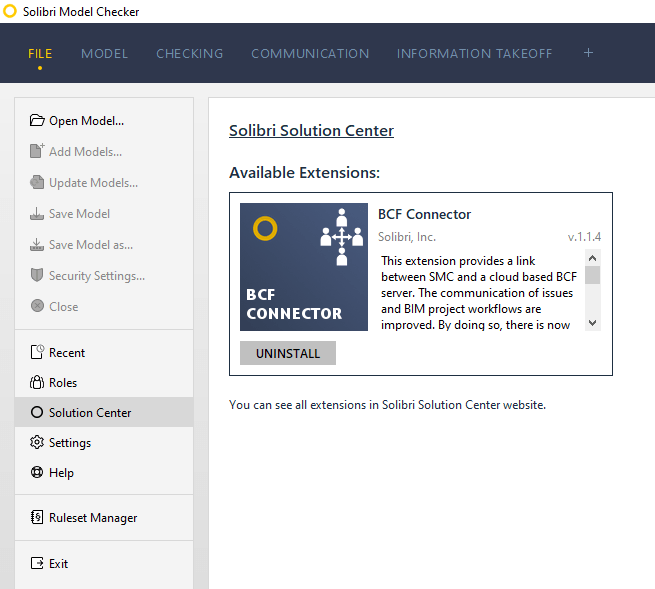
Once those changes are saved, the given users will now be able to follow the next steps on their next launch of Solibri Model Checker. Open up Solibri Model Checker and head into the Solution Center view within the application. You will notice the BCF Connector is available for installation. Choose to install the Extension, which should only take a minute or so.
You are now ready to start using the BCF Connector to integrate Solibri and BIM Track. Full step by step instructions can be found on the following page, but are continue here for reference:
https://help.bimtrack.co/en/support/solutions/articles/9000156524-solibri-integration-connector-
If you are using Solibri Model Checker and wish to move your existing presentations to a new BIM Track project for the first time, then the following steps should be taken to publish your issues from SMC to BIM Track.
You must make sure that all of your issue-data remains synchronized when you continue to work with Solibri and BIM Track. We advise you to follow this workflow when you plan to change issues in Solibri:
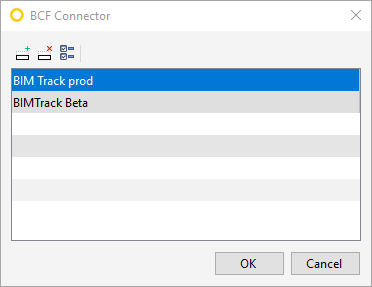
In Solibri go to the File layout and select Settings > BCF Connector
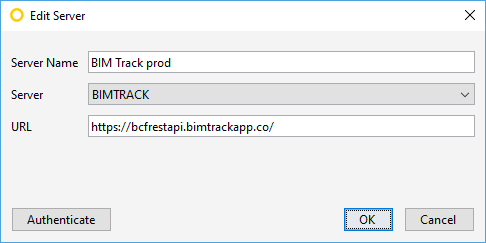
Ensure that the BIM Track server is added to the list of BCF servers
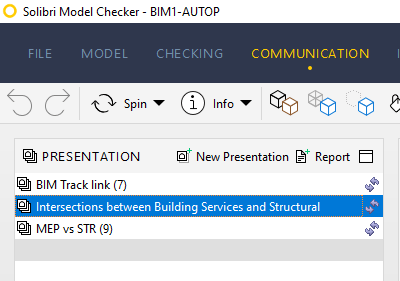
Go to the Communication layout and ensure the correct presentation is selected.
Click on the “Synchronize” button next to the presentation title:
Select your BIM Track server from the list and then the project you wish to sync with.
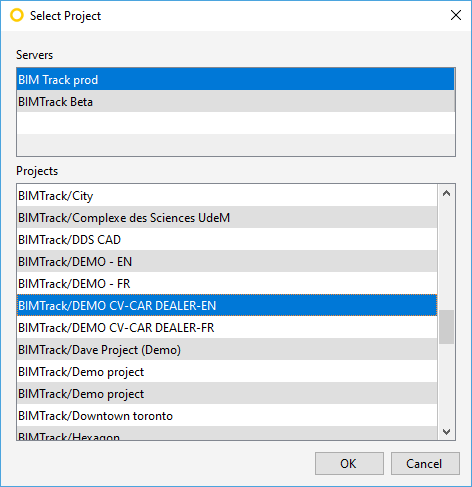
Click “OK”.
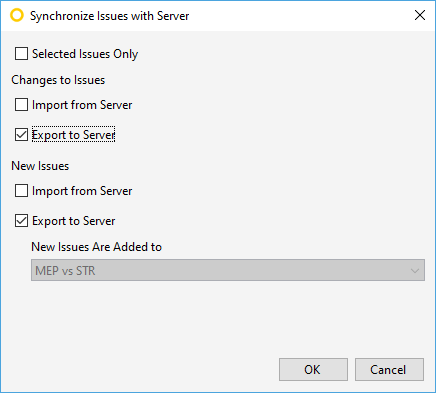
Select export to publish new issues and changes.
In “User Value Conversion” ensure that all SMC values are mapped to a BCF Server (BIM Track) value.
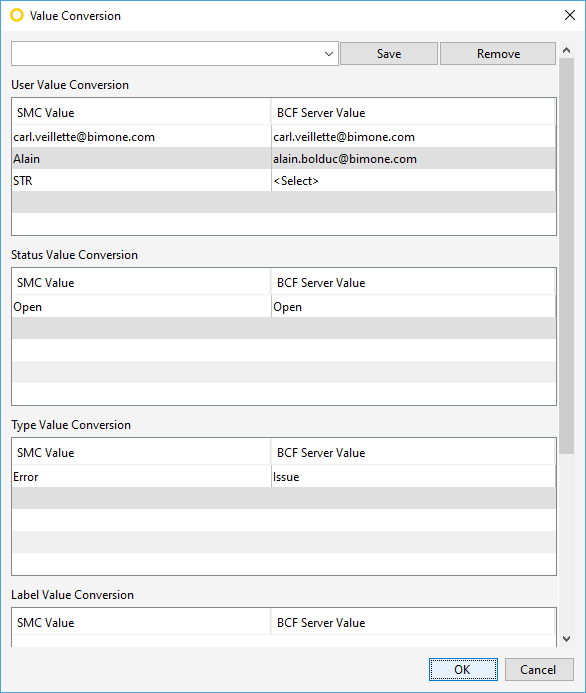
Click “OK”.
You can now continue working on your SMC presentation.
Alongside these fantastic new improvements, the traditional manual file based workflow using BCF still works as you would expect should you need to continue to work in this way.
For more information on this blog post or if you have any other questions/requirements, please complete the below form:
Related Links
BIM Track – Centralise All BIM Coordination | Man and Machine
Solibri Model Checker (SMC) Software | Man and Machine
Solibri – BIM Validation Software | Man and Machine
BIM Track Training – Running Start | Man and Machine
Solibri Training – Clash Detection Made Easy | Man and Machine