For those that have used Enscape, it can be an amazingly powerful rendering tool that gives the designer a very quick way to communicate visually to clients and other designers.
This can be enhanced by using some of the simple functions within Revit such as design options that can be quickly flicked between in Revit and thus change the rendered design layout in Enscape.
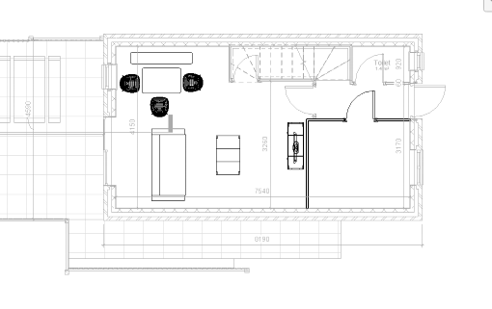
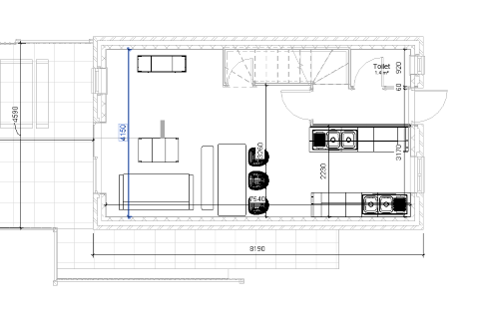
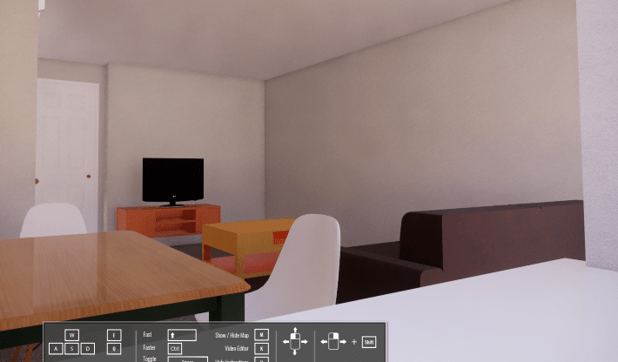
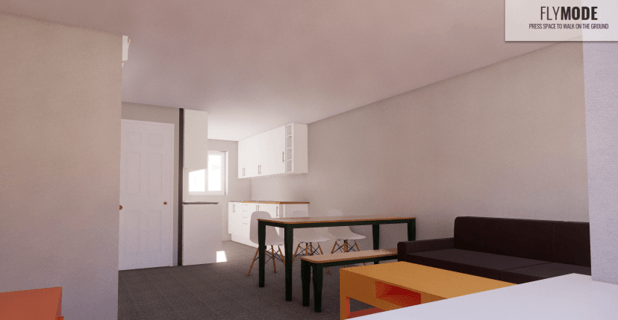
Below is an example of a living room with two design layouts, the original design of the ground floor and a proposed design. This project has been correctly coordinated and so the sunlight directions inside of Enscape are accurate to how the house is coordinated in the real world.


Using design options it is possible to see the proposed option compared to any other design options or original layout to compare lighting conditions in front of a client.
For more information on this blog post or if you have any other questions/requirements, please complete the below form:
Related Links
Autodesk Revit – Autodesk Platinum Partner | Man and Machine
Enscape – Real-Time Rendering for Revit | Man and Machine
Revit Training Courses – BIM Modelling Skills | Man and Machine