When you first load your point cloud scan into recap, you will get everything. This data will need to be organised into which points are Walls, Floors, Roofs, Equipment and to clear all the noise that the scanner may have picked up.
In Recap we can organize our points into what are called Regions. These behave like layers which we can turn off and on, change colour and can export individually.
Below I will show you how to organise and “tidy” your point cloud scans.
Creating a New Region
First of all we need to select some points.
In the lower centre of the screen you have a group of tools, the first button allows you to choose how you select points. You have three options; Window, Fence and Plane.
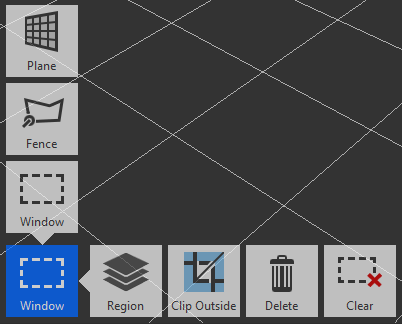
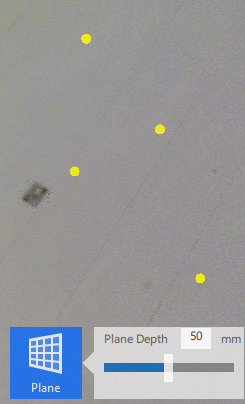
Depending what you are trying to select you may need to change selection method, for example when selecting a ceiling which is relatively level and smooth, the plane tool might be best. With this, just select a few points in the ceiling and press return, and Recap will select all points on the same plane.
Once you have your points selected, select the Region tool and click New Region and give it a name such as Ceiling.
Now keep selecting points and adding them to regions creating new regions as needed.
TIP: Create a region called “DELETED” and move any points you want to delete onto this region. You can turn this region off to hide the points without actually deleting the points, just in case you decide later you want to recover any points you have deleted.
For more information on this blog post or if you have any other questions/requirements, please complete the below form: