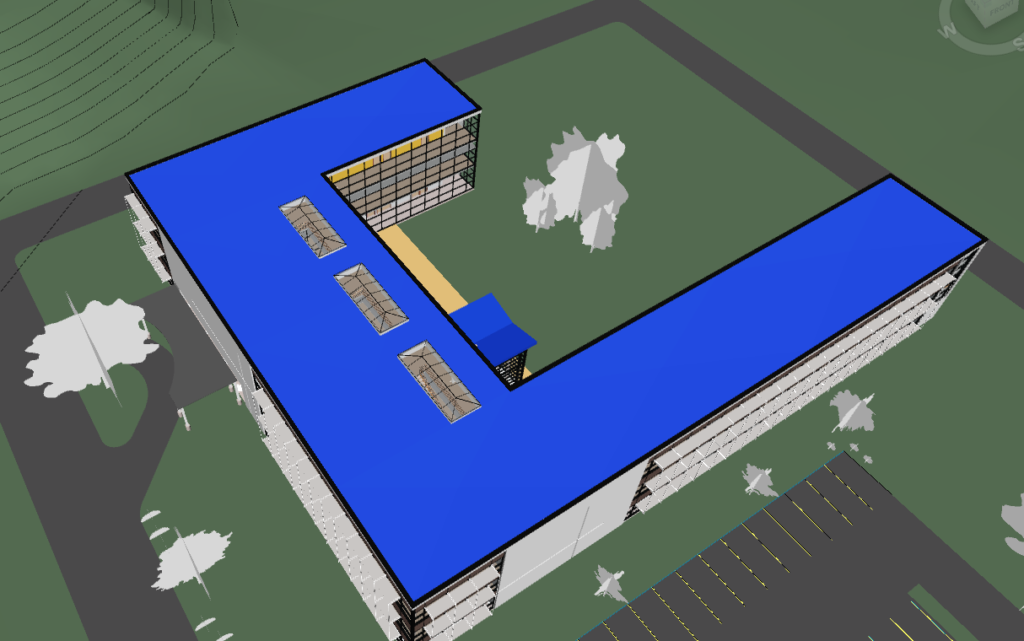
Creating selection sets is an easy way to manage groups of objects within a project such as Interior Walls, Hot Water Pipes or Structural Elements. We can use selection sets for turning visibility on and off, or for use in clash detection.
In this short article I will show you how to create a simple selection set consisting of two roofs, then we will update the selection set and add in a third roof which we initially missed.
1. Open the Sets Window

2. Hold CTRL and Select your Elements

3. Click the Save Selection Button and Name it

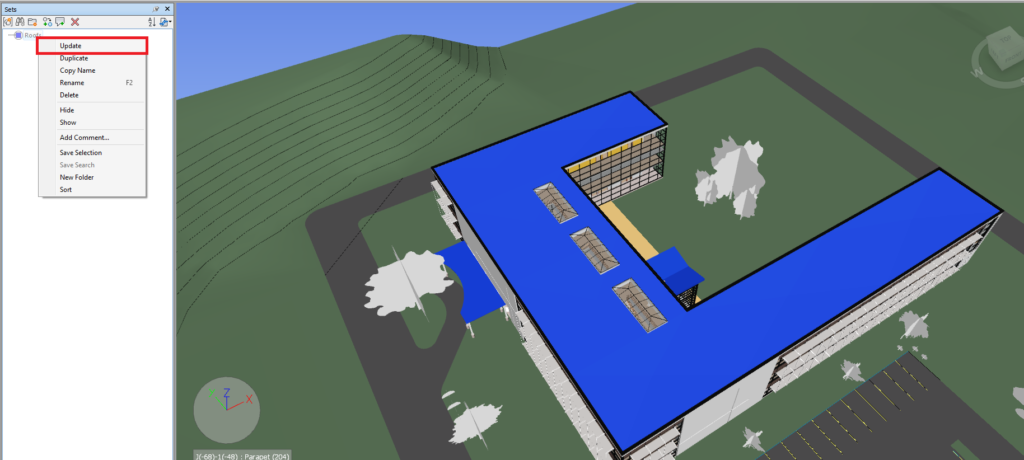
4. To Update the Set Simply Select New Component and Right Click on Set and Update

There you have it, you can now create your own custom selection sets and update them if needed. This is however a manual process. You can automate this using Search Sets which requires a bit more setting up but will automatically select elements based on their properties.
You can find further information on selection sets on the Autodesk website here.
For more information on this blog post or if you have any other questions/requirements, please complete the below form: