Sure, we’ve all heard of the Unwrap tool in Autodesk Inventor, but what can we use it for? In this quick blog, we’ll see how we can use it to make a sticker for a complicated shape.
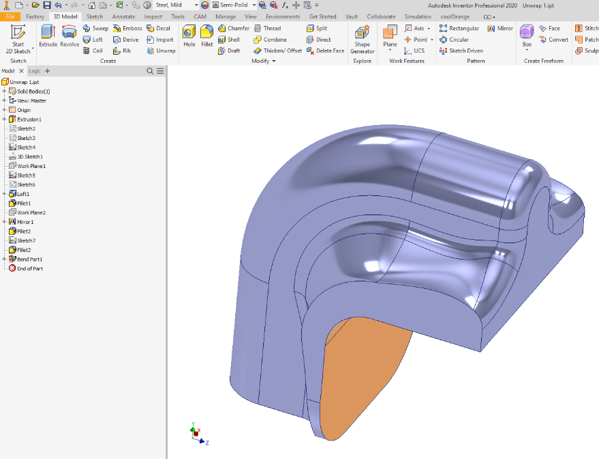
Let’s start with our complex shape…
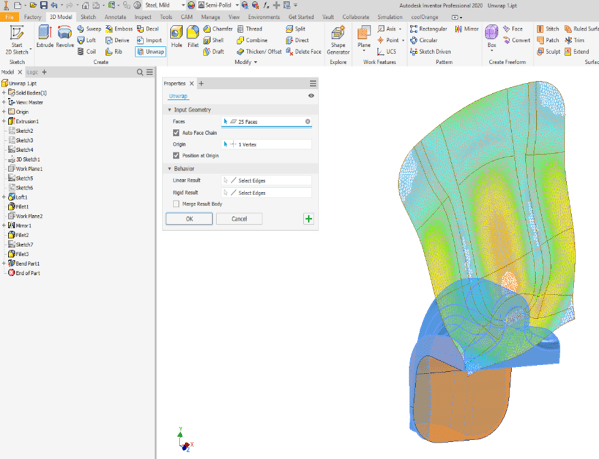
We’ll perform an unwrap command…
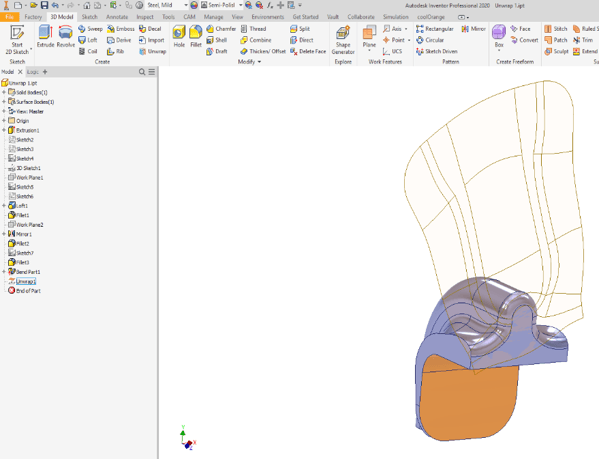
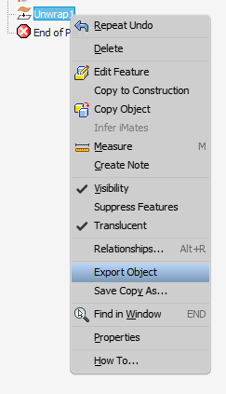
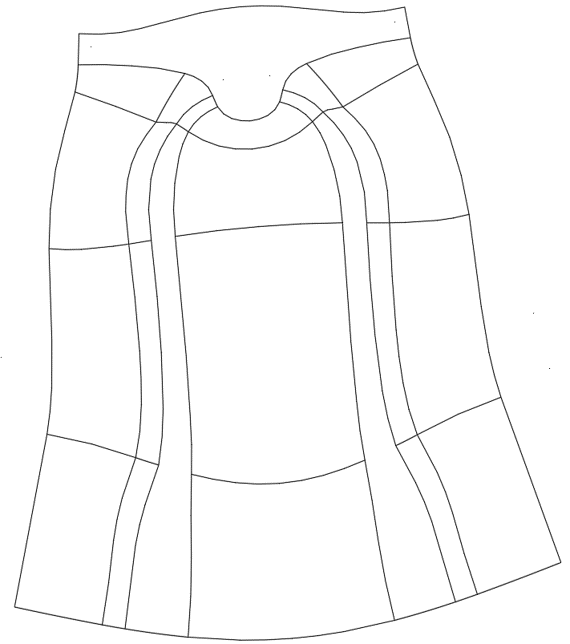
Now, this is a pretty surface, but it’s useless on its own. Next, we’ll export it as a DXF, and convert it to an image. Rick-click the Unwrap feature, and click ‘Export Object’.

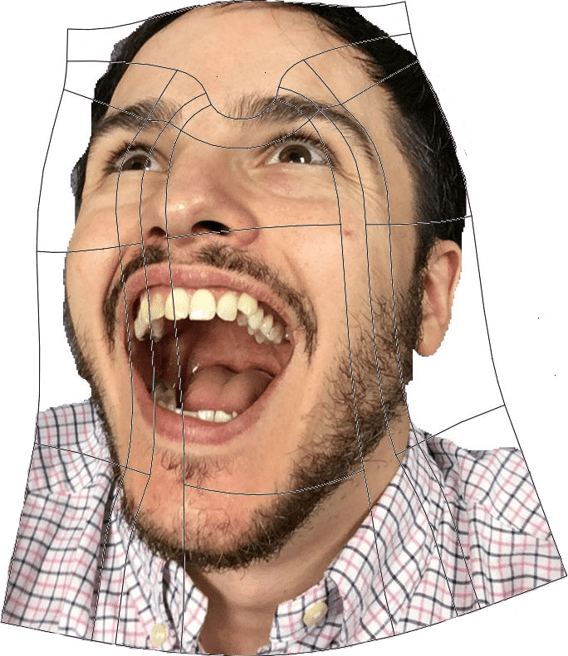
Lastly, we convert the DXF to an image, and superimpose any image we want! This can then be made into a sticker decal for your part.
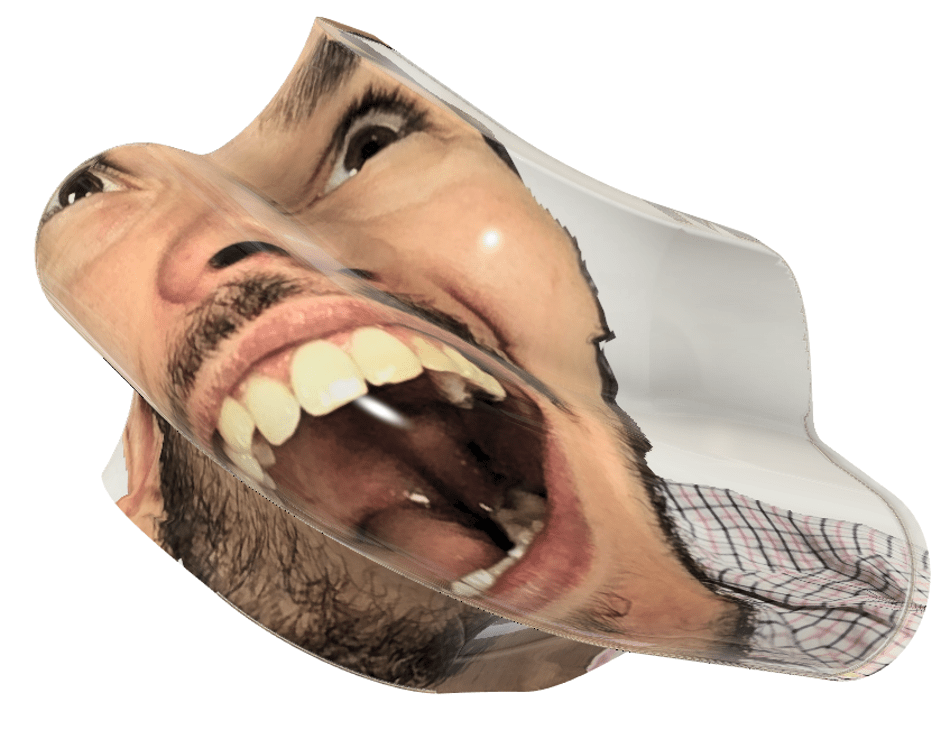
We have fought nature and created something beautiful with Autodesk Inventor.
If you would like to learn more, Man and Machine welcomes you to one of our Inventor masterclasses! Our applications engineers will get you up to speed in no time!
For more information on this blog post or if you have any other questions/requirements, please complete the below form:
Related Links
Autodesk Inventor – Autodesk Platinum Partner | Man and Machine
Autodesk Inventor Training Courses | Man and Machine
Inventor Training – Solid Modelling Introduction | Man and Machine