If you often find yourself reusing the same base file but only adding or removing certain features, this underrated tool will help you with this. The tool is Model States, and it allows you to create multiple versions of the same file, while toggling the suppression of features with each model state.
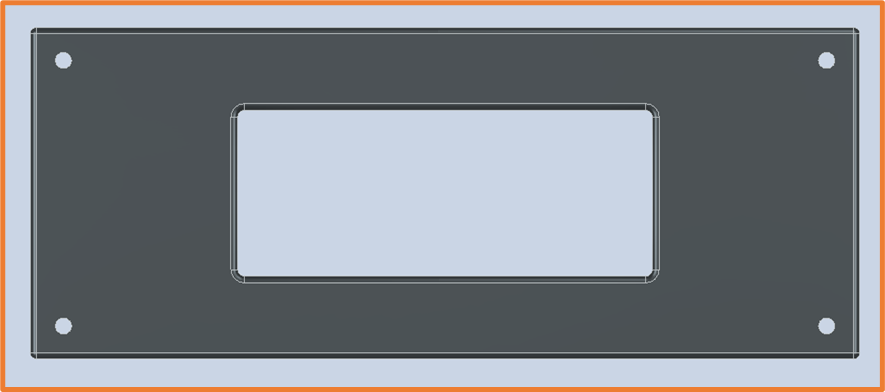
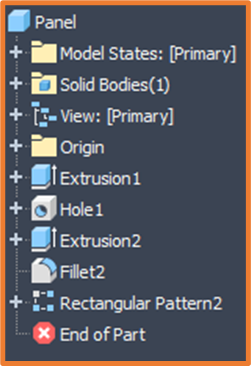
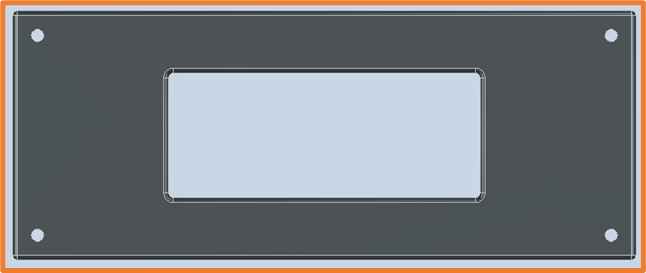
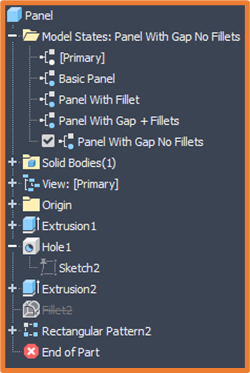
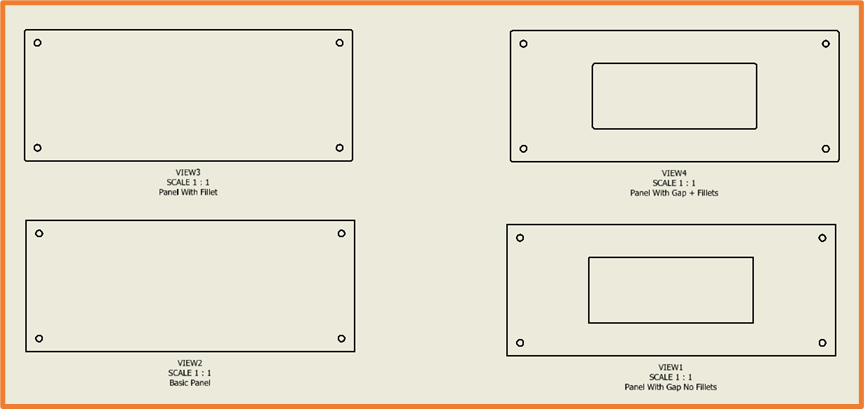
As an example, we have a fairly simple part with a base extrusion, a hole that has been patterned, a gap in the middle and fillets surrounding the main extrusion.
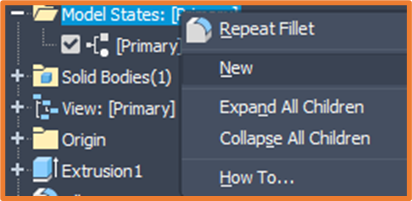
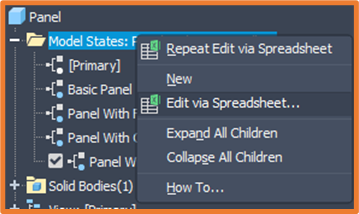
To activate Model States, we Right Click on the Model States folder in our Model Browser and select New. This will create a new state which we can rename.
We can make as many model states as we want, depending on the configurations we are needing. In this case I have created four:
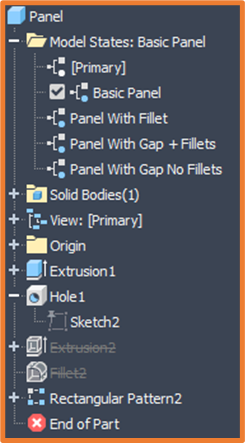
- Basic panel – with only the main extrusion and four holes
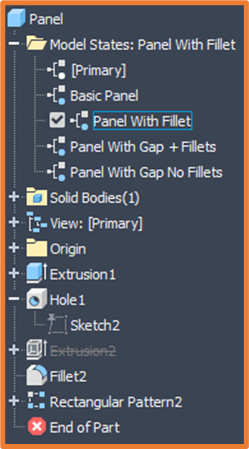
- Panel with Fillet – Basic panel with fillets enabled
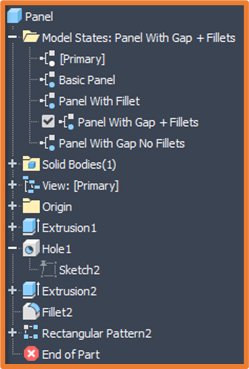
- Panel With Gap + Fillets – a state with all features enabled
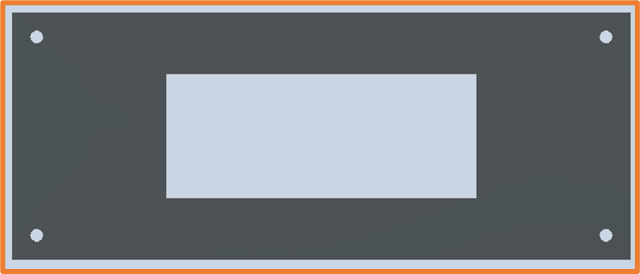
- Panel With Gap No Fillets – all features minus the fillets
It is easiest to create Model States once you have finished the model and included all features, as all you need to do is turn features on or off. However, you can add Model States further down the line if needed. This will require tweaking the features in each State.
Once the model states are created, we will need to activate each one to configure them. Double Click on the state you wish to activate. The Model States Folder will reflect the active State.
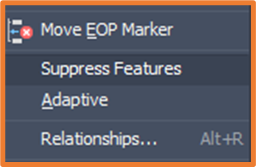
You can then Right click and Suppress/Un-Suppress any feature you would like to add or remove from the model state.


After all your Model States are set up, you can switch between them to ensure they behave how you intended.
Edit Model States in Spreadsheets
We can also edit our model states in a spreadsheet. Right clicking on the Model States folder, gives us the option to Edit via Spreadsheet, this will take you into Excel where features are listed in columns, against each State in Rows. Notice how it also allows us to edit dimensions.

Using Model states in Drawings
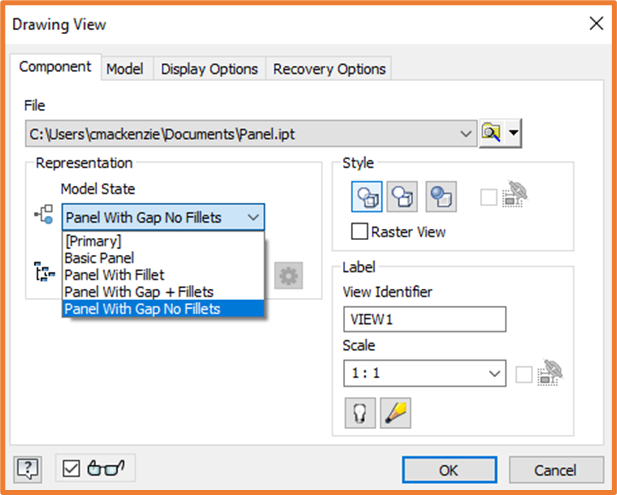
Model states are fully integrated into drawings too, giving us more usability once set up. During the View Placement dialogue, we can choose which Model State we would like to use. Allowing us to place down all model states on one page if we choose to. We can also display the Model State in the label as a Model Configuration Property.
As you can see, using Model States in Inventor are a great asset and understanding how to use them correctly can save a lot of time. We no longer need to recreate multiple parts for slight variations in design, as these can all be in one part file. Model states are also available in Assembly files, which further adds to their functionality.
For more information on this blog post or if you have any other questions/requirements, please complete the below form: