A customer called in earlier this week wanting to link Autodesk Inventor with a Microsoft Excel spreadsheet. In other words, driving the value of a dimension inside of Inventor with a value from an Excel sheet. There are 2 possibilities here, using either a direct link with Excel between files or using iLogic.
In this example, we will step through the process using a simple parameter link.
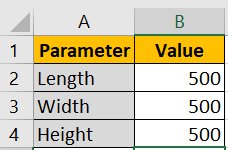
Firstly, create an Excel spreadsheet containing your desired values. I have kept things simple here:

Now head over into Inventor, we are to use a simple box to show this example. So create yourself a new part, and head straight over into the parameters screen before creating any geometry:
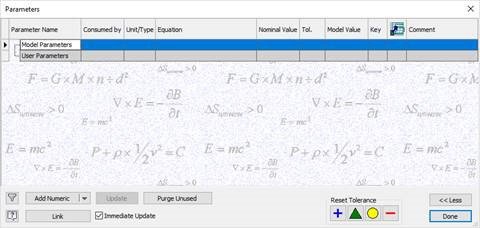
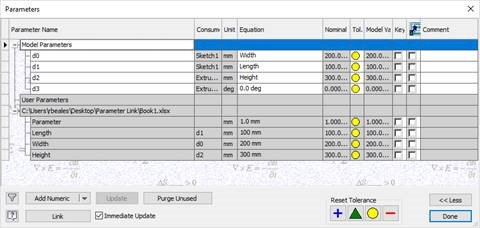
Choose ‘Link’ in the lower right hand corner. Browse to your Excel file and choose to link and now embed the file. By embedding, it would insert the excel data into the Inventor part. By linking, we are creating a live link between the two files:
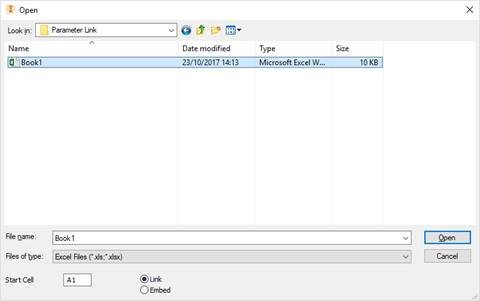
Depending on the formatting of your Excel sheet, you may get a warning that you can ignore. This is down to Inventor not understanding that there are titles above the values in the spreadsheet:

You will not be able to see parameters have been created from the Excel Spreadsheet. Actually, these are still being pulled live from Excel which you can see by looking at the fact they are hosted by the Excel file still:

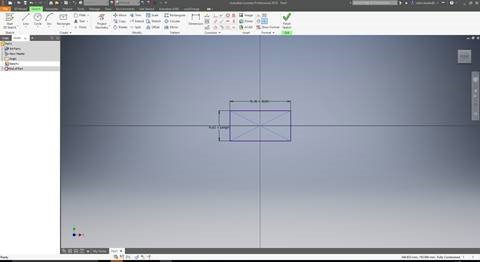
At this point, start modelling. When you want to create a link between dimension and Excel, simply enter the name of the parameter as the dimension value. For example, we create a sketch on the front plane and add a dimension for the width and length of the part:

We finish the sketch and use the same functionality for the height of the component:
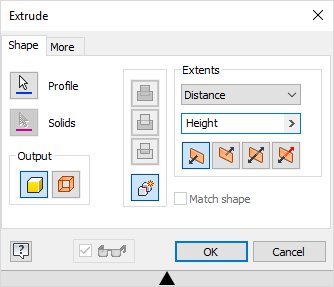
We are left with, in this example, a box which is fully linked to Excel:
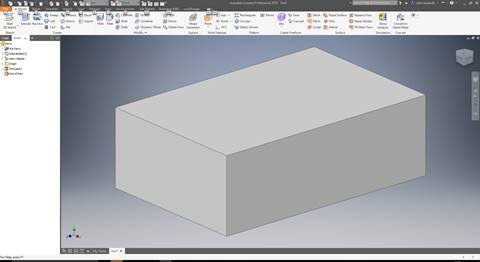
Here are the parameters for reference:
If you open the Excel file again, make a change followed by saving the file, Inventor will prompt an update and change your dimensions to suit:

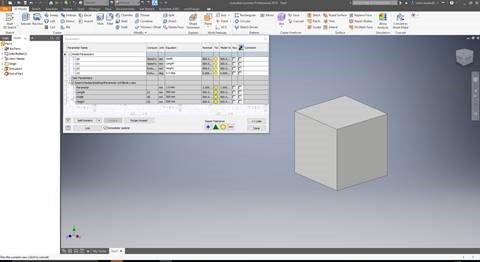
On updating the Inventor model, your Excel changes are pulled into the model, and everything updates automatically:
And that is it! A simple example, but very scalable for your own requirements. Keep your eyes peeled for the follow up blog using iLogic to perform the same functionality, and if you’d like any more information on this blog post, please complete the below form:
Related Links
Autodesk Inventor – Autodesk Platinum Partner | Man and Machine