Revit makes adding Rebar quick and easy. There are a number of tools relating to rebar and structural reinforcement, for today we will keep it simple and add some rebar to a foundation wall.
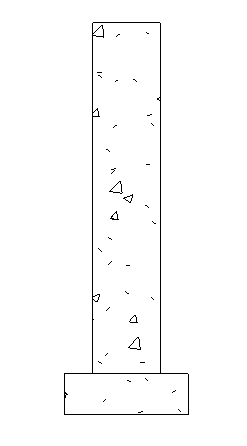
Here we have our foundation wall and footing which we need to add some structural reinforcement to.
The first thing we need to do is start the Rebar command, this can be found in the “Reinforcement” group on the “Structures” tab on the ribbon bar.

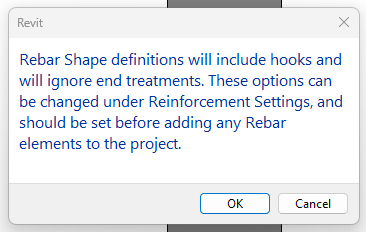
You may see the following notification, simply click OK for now.
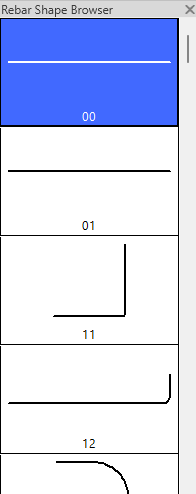
Once in the Rebar tool, you will have access to the Rebar Shape Browser. You can also select the shape of Rebar via the Options Bar. I will go into more detail how to create your own custom rebar shapes in a different article, for now we will use the shape “00”.
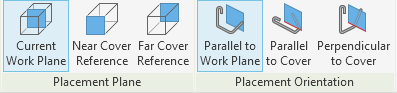
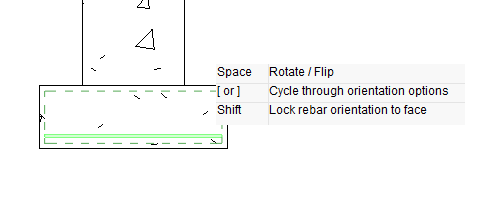
Before we add our rebar we are going to tweak some settings. On the Modify tab we now have a group Placement Plane and Placement Orientation… make sure your settings look like the below image.
Now when you move your mouse cursor over the bottom of the foundation, you should see a single length of rebar. Left click and place it.
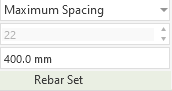
Once placed, come out of the Rebar command (press escape) and select the rebar you have just placed. We are going to want a length of rebar every 400mm. Find the Rebar set group in the Modify tab and change it to Maximum Spacing and 400mm as per the below image.
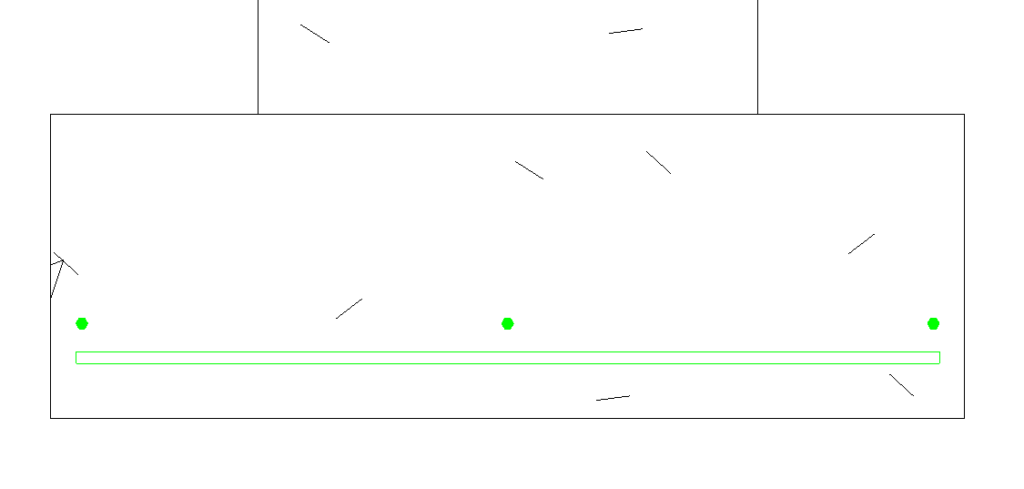
As well as a length every 400mm, we want 3 lengths of rebar to run the full length of the wall perpendicular to the view. Again, start the Rebar command, you will notice that we can change the Rebar Set prior to placement. Change the Placement Orientation to ‘Perpendicular to Cover’ and the Rebar Set to Fixed Number, Quantity 3 as per the below image.

Now move your mouse over the foundation, just above the previous rebar and click. Congratulations you have now added some simple rebar to the foundation wall footing.
For more information on this blog post or if you have any other questions/requirements, please complete the below form: