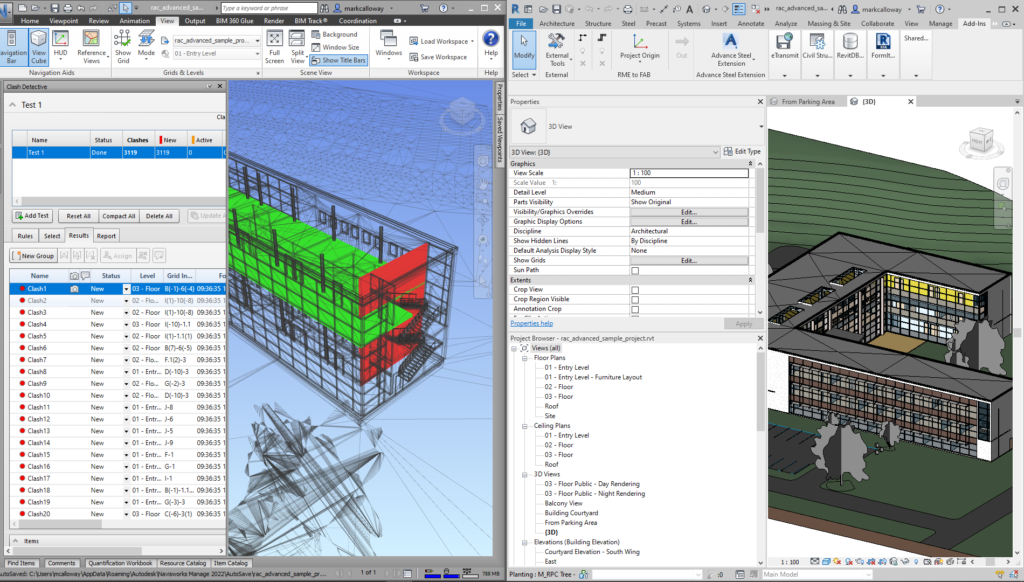
If you haven’t used the Switch Back feature with Revit and Navisworks you are missing out. Don’t get me wrong its not going to be setting off any fireworks but in terms of productivity and saving you manual work when working with both Revit and Navisworks, you are going to be glad you found this nifty little tool.
Ok, so lets set the scene…
You have a Revit model you want to do a bit of traditional clash detection in, maybe you want to make sure your pipes have enough clearance around them? No problem, Navisworks is excellent for this. You run a clash and find an issue (well maybe more than one), its in a ceiling space on a site with a lot going on and you need to find that one clash in Revit in order to fix it. OK, so flick to Revit, what level is it on? Is it in ceiling plan or floor plan? Which wing or zone is it in? Is it better to be in a 3D view to see the issue?
You get the picture.
And this is where the switch back tool excels. Using the switch back tool in Revit will create a 3D view identical to the view you have open in Navisworks, ensuring you can see the relevant component making it super easy for you to fix the issue.
So how do you use the Switch Back tool? Well here’s how…
Switch Back in 4 Simple Steps…
Step 1: You need both Revit and Navisworks open on the same computer with the relevant projects loaded.

Step 2: In Revit, on the Add-Ins tab, expand External Tools and select Navisworks Switch Back.

Step 3: In Navisworks, right click to component in the view or selection tree and select Switch Back.

Step 4: In Revit with the new 3D View and the correct element already selected, use the Section Box tool to crop the view.

And thats it, Revit will generate the view you need and you can crack on with your work. Seriously, if you are going back and forth between Revit and Navisworks this one tool is going to make your job so much easier.
For more information on this blog post or if you have any other questions/requirements, please complete the below form:
Related Links
Autodesk Revit – Autodesk Platinum Partner | Man and Machine
Revit Training Courses – BIM Modelling Skills | Man and Machine
Revit Architecture Training – Platinum Partner | Man and Machine
Autodesk AEC Collection – Platinum Partners | Man and Machine