The Fusion team have introduced the ability to use any selection option for grabbing geometry in Fusion CAM.
Until the latest update, the geometry available for selection in Fusion 360 was relative to the strategy you were using. Meaning that some geometry would be a little harder to select for the strategy you were wanting to use. With the latest update, we can now use any of the selection options for any strategy. Making selection much quicker and easier than before. They have also given a few extra options in the dialogue while unifying the interface.
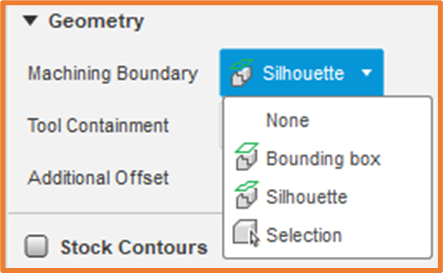
Machining Boundary Options
While we still have the Bounding Box and Silhouette options, these will take the setup configuration into consideration.
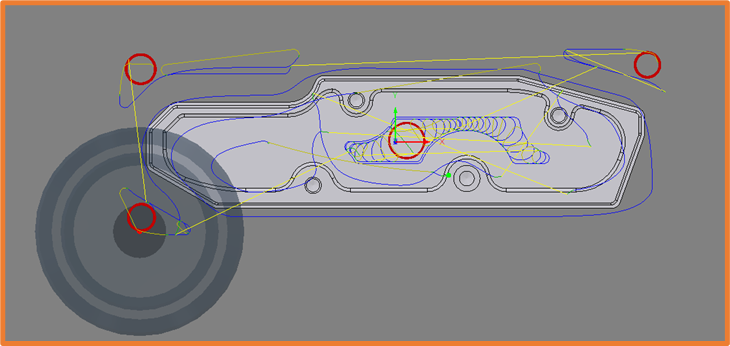
Bounding Box will calculate the toolpath based on the Stock provided in the Setup.
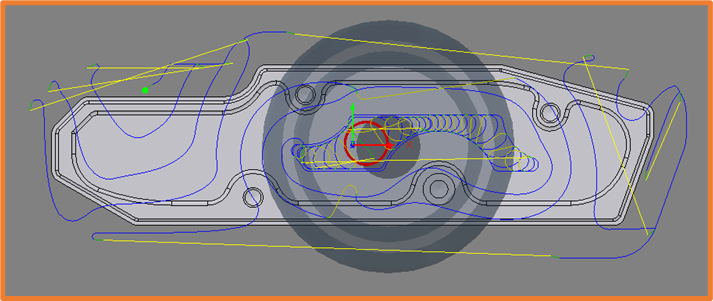
Silhouette will look at the perimeter of the part and calculate a toolpath based on the Silhouette of the part.
Selection
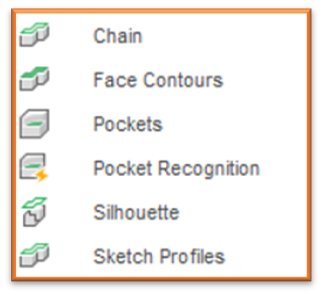
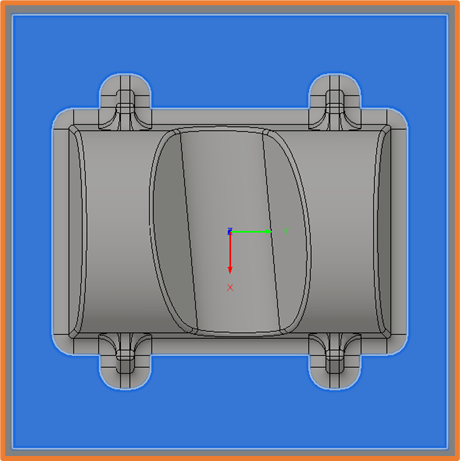
Chain
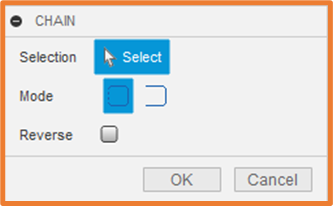
This option allows us to choose an edge, or edge chain, to create either a boundary, or path for our toolpath to follow.
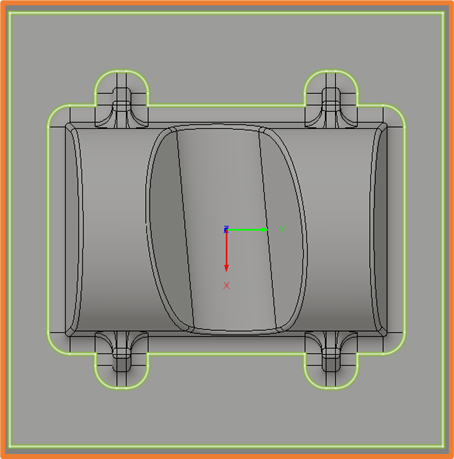
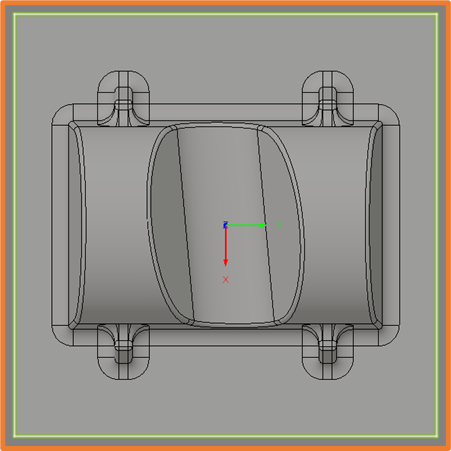
Setting the Mode, we can choose between a Closed and Open chain. Closed chain will ensure a closed loop, merging tangent or connected edges. Open Chain will let you select individual edges, either allowing you to create your own loop, or a single path.
Reverse will let you change the direction the Toolpath passes along this selection.
Face Contours
In the updated dialogue we now choose not only the face to machine, but the selected faces can also act as the boundary for our strategies. The Loop options allow us to choose between All, Outer and Inner Loops.

All will ensure all edges are treated as the boundary.
Outer will ensure that only the outer perimeter is used as the boundary.
Inner will ensure the inner extents of the selection are used.
Same Plane Faces will, with a single selection, go and grab all other faces on the same plane. Allowing for quick selection of all faces and therefore edges on one level. Including any that are not physically connected.
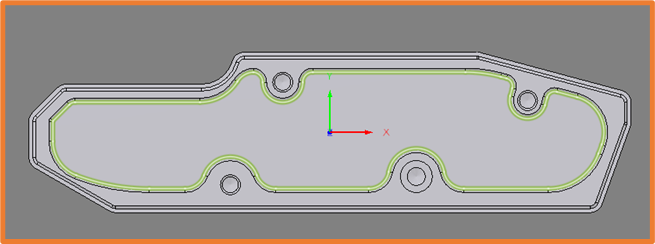
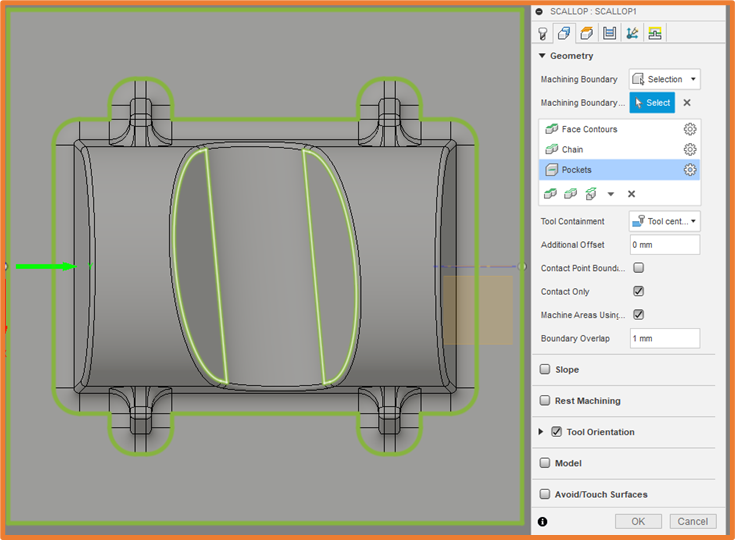
Pockets
Is as the name implies and works opposite to Faces in that it allows you to grab individual pockets within your part rather than all at once. This also has the Same Plane Faces option for quicker selection of all pockets with the same depth/height.
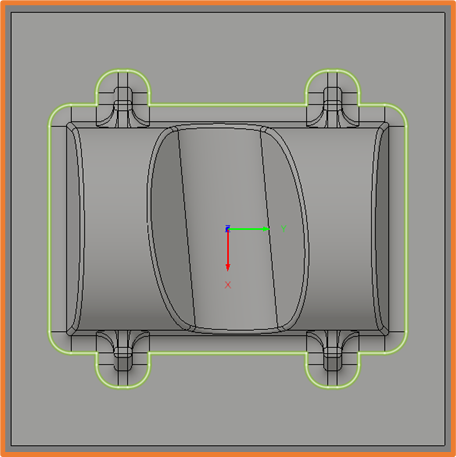
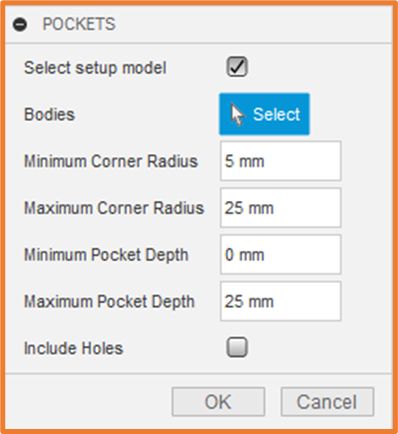
Pocket Recognition
Like Pocket, but a lot more intelligent. This will allow you to search an entire body or bodies (from your setup orientation) and look for pockets within a defined range.
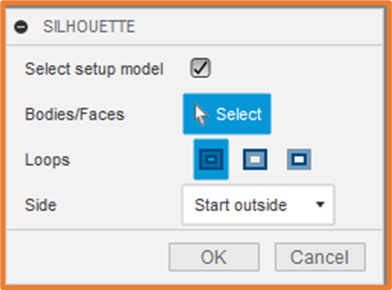
Silhouette
In the same way the main Silhouette option works, this will take the silhouette of your part in its current Tool Orientation. Allowing for better control of the machining boundary for strategies that need a precise angle. We also have the Loops options available for this selection.
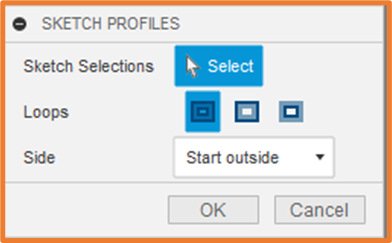
Sketch Profiles
When driving our toolpath from a sketch, we can use this option and set selections further with the Loops options.
Combining Selections
Another great bit of functionality we have available as part of the selection options, is the ability to combine selection types to grab the correct Geometry. Each individual Selection type will be listed and is editable by selecting the cog next to the respective option.
Boundary Conditions
Once we have made our selection, we have options for fine tuning how these are treated.
Tool Containment will allow us to establish whether the tool tip is allowed Outside of, On, or only Inside the Perimeter. And whether that boundary has any Additional Offset.
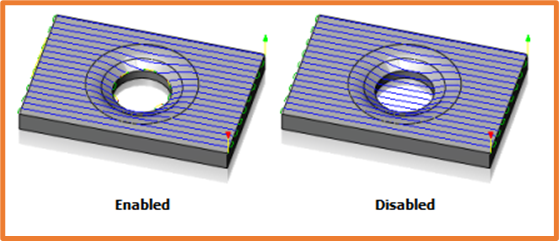
Contact Only enforces the toolpath to only generate where the tool would contact a surface. With this unticked, we would allow the toolpath to continue over pockets or gaps in the part.
As well as a few other fine-tuning options.
These options are available in the Fusion 360 January 2023 update.
For more information on this blog post or if you have any other questions/requirements, please complete the below form: