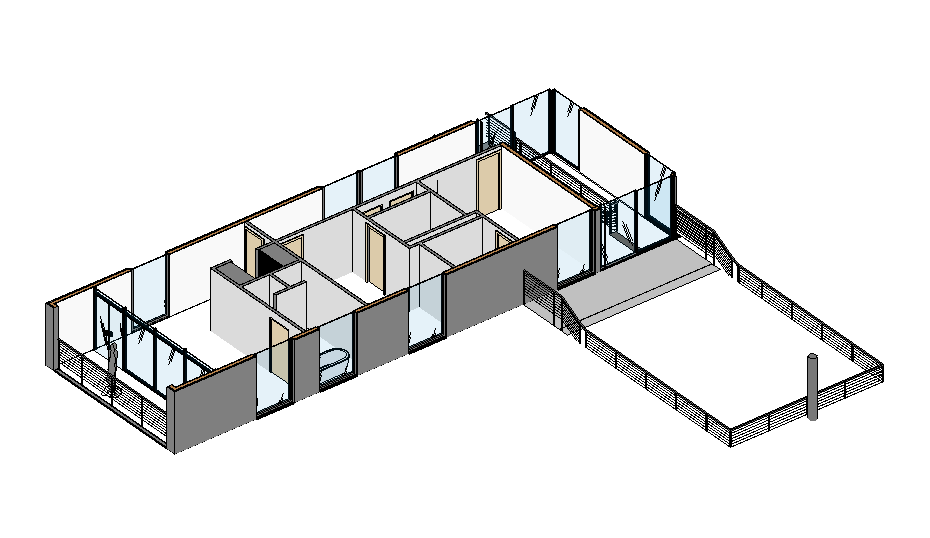
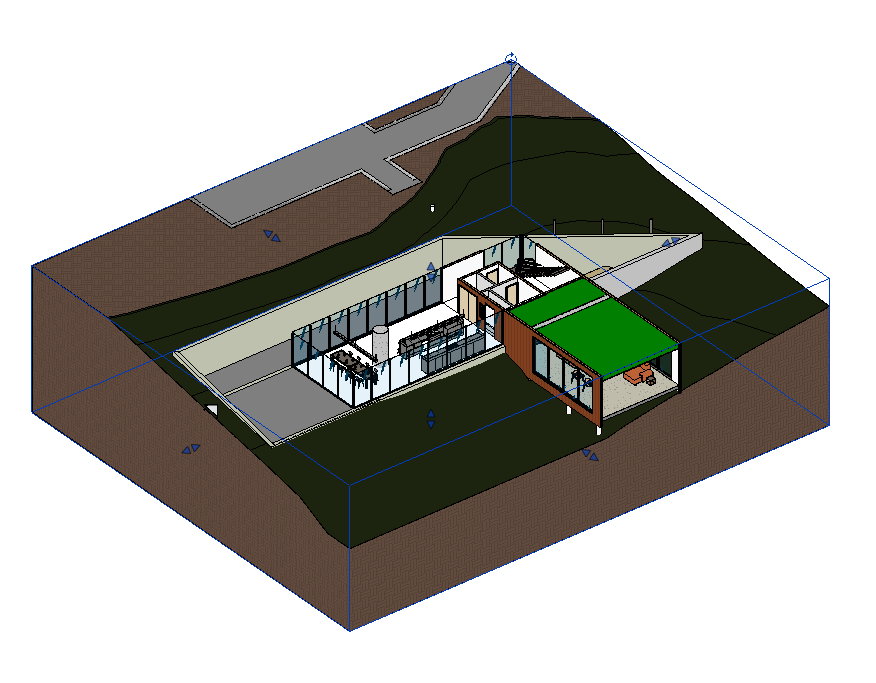
What is a 3D Section box?
A 3D section box is an invisible box which you can customise the size and position of, to display only elements which are contained within.
Perhaps you want to only see the first floor in 3D or maybe just an out building. Using a 3D section box in Revit, we can do this.

How to create a 3D section box
There are two ways you can do this.
Automatic:
- Right click on the view cube in any 3D view
- Expand Orient to view
- Choose a view category
- Select a view
Revit will now automatically create a 3D section around the view of your choosing, this is both quick and easy.
Manual:
- Go to a 3D view
- In the view properties tick the box for “Section box”
- This should reveal and activate the section box in the 3D view, if you can’t see it you may need to reveal hidden elements and unhide it
- Using the grips on the section box resize and position it as required
You can easily customise the arrangement of section boxes in Revit with a just a few simple steps.

Section boxes are a great visualisation tool and have many uses.
For more information on this blog post or if you have any other questions/requirements, please complete the below form:
Related Links
Autodesk Revit – Autodesk Platinum Partner | Man and Machine
Revit Training Courses – BIM Modelling Skills | Man and Machine