Did you know you can add dimensions in a 3D view?
In revit dimensions can only be placed on a 2D surface, if your in a 3D view you will find that all your dimension tools are greyed out.
So how can we add dimensions onto a 3D view?
Adding Dimensions to a 3D View
First of all, open your 3D view.
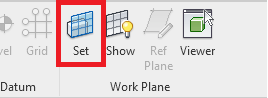
Next go to the Work Plane tools on the Ribbon bar, this can be found on the Architecture, Structure, Steel & Mechanical tabs.
In the work Plane tools select “Set”.
Choose “Pick a Plane”
This allows you to select a surface within the view to act as the 2D work plane on which to add your dimentions.
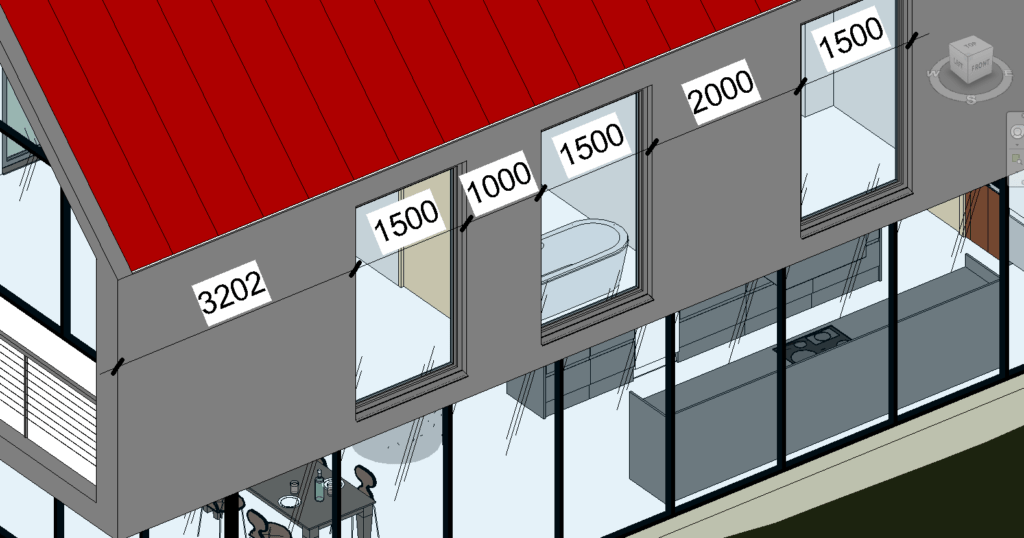
You are now free to draw dimensions in your 3D view on your choosen plane.
For more information on this blog post or if you have any other questions/requirements, please complete the below form:
Related Links
Autodesk Revit – Autodesk Platinum Partner | Man and Machine
Revit Training Courses – BIM Modelling Skills | Man and Machine
Revit Architecture Training – Platinum Partner | Man and Machine
Autodesk AEC Collection – Platinum Partners | Man and Machine