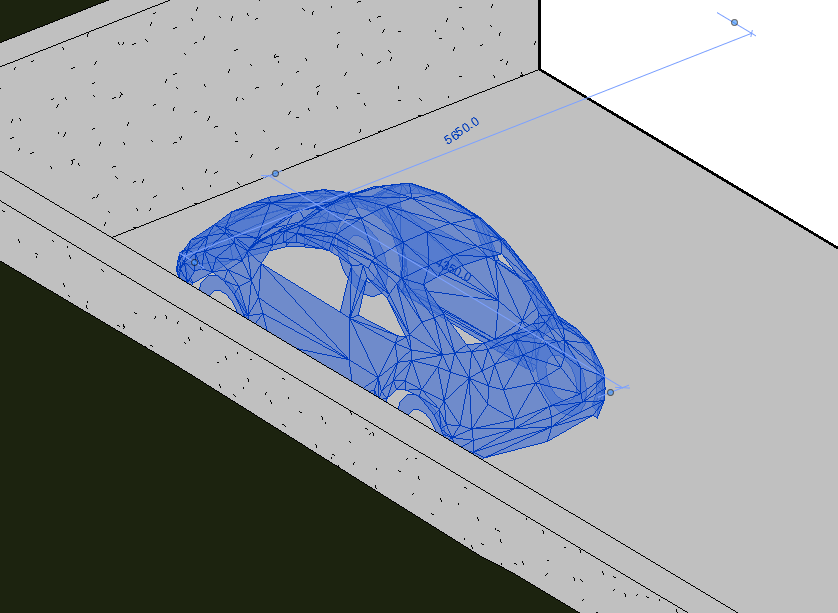
Revit by default rotates about the center of the project when in 3D. This is ok if you are zoomed out but if you have zoomed in on an element and want to rotate, the result is that elements fly off screen and your left looking at a different location in the project.
Set Centre of 3D Orbit
This is a very simple but not very obvious feature and takes most Revit users a while to discover, it’s one of those “wish I knew about this sooner” sort of trick.
All you have to do is select the object that you want to rotate about, its that simple!
Any element you have selected will become the new center of orbit whilst it is selected. This even works for groups. Selecting a group of elements will rotate around the center of the selected elements.

Conclucion
This is such a simple feature which isn’t very obvious if you don’t know it exists. Realising you can set the center of 3D orbit in Revit can make working in Revit a much more pleasant and productive experience.
For more information on this blog post or if you have any other questions/requirements, please complete the below form:
Related Links
Autodesk Revit – Autodesk Platinum Partner | Man and Machine
Revit Training Courses – BIM Modelling Skills | Man and Machine
Revit Architecture Training – Platinum Partner | Man and Machine
Autodesk AEC Collection – Platinum Partners | Man and Machine